In yesterday’s
Python article
in Mobile development , which talked about the
KivyMD library (a collection of Material Design-style widgets for use in the Kivy cross-platform framework), I was asked in the comments to talk about the process of building the package for the Android platform. For many, this process, unfortunately, was and remains something of a series of magical shamanism and not an affair for beginners. Well, let's figure it out, is everything really complicated and am I really a magician and wizard ...

Of course he could! So, you wrote your code in Python and Kivy. What does it take to run it on Android devices? Go to the KivyMD repository and you will see that
these instructions have long spelled out the steps that will allow you to collect the APK package:
- Download XUbuntu 18.04
Install Virtual Box on your computer.
Create a new virtual machine based on a downloaded XUbuntu image
Start the XUbuntu virtual machine, open a terminal and run the following command:
wget https://github.com/HeaTTheatR/KivyMD-data/raw/master/install-kivy-buildozer-dependencies.sh
chmod +x install-kivy-buildozer-dependencies.sh
./install-kivy-buildozer-dependencies.sh
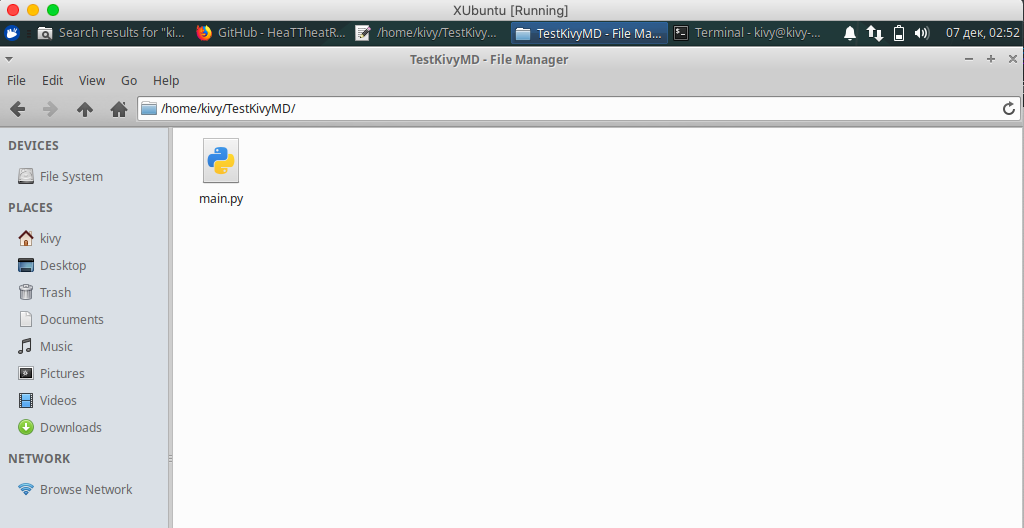
All! You now have a virtual machine for building APK packages for Kivy apps! What's next? Let's actually build a test application. Create the TestKivyMD directory in the home directory of your virtual machine with the empty main.py file:
Next, open the main.py file and write the code for our test application that will use the KivyMD library:
from kivy.lang import Builder from kivymd.app import MDApp KV = """ Screen: MDToolbar: title: "My firt app" elevation: 10 md_bg_color: app.theme_cls.primary_color left_action_items: [["menu", lambda x: x]] pos_hint: {"top": 1} MDRaisedButton: text: "Hello World" pos_hint: {"center_x": .5, "center_y": .5} """ class HelloWorld(MDApp): def build(self): return Builder.load_string(KV) HelloWorld().run()
Save, open the terminal in the directory with the main.py file and install the KivyMD library:
sudo pip3 install kivymd
After installation, you can test our code:
python3 main.py
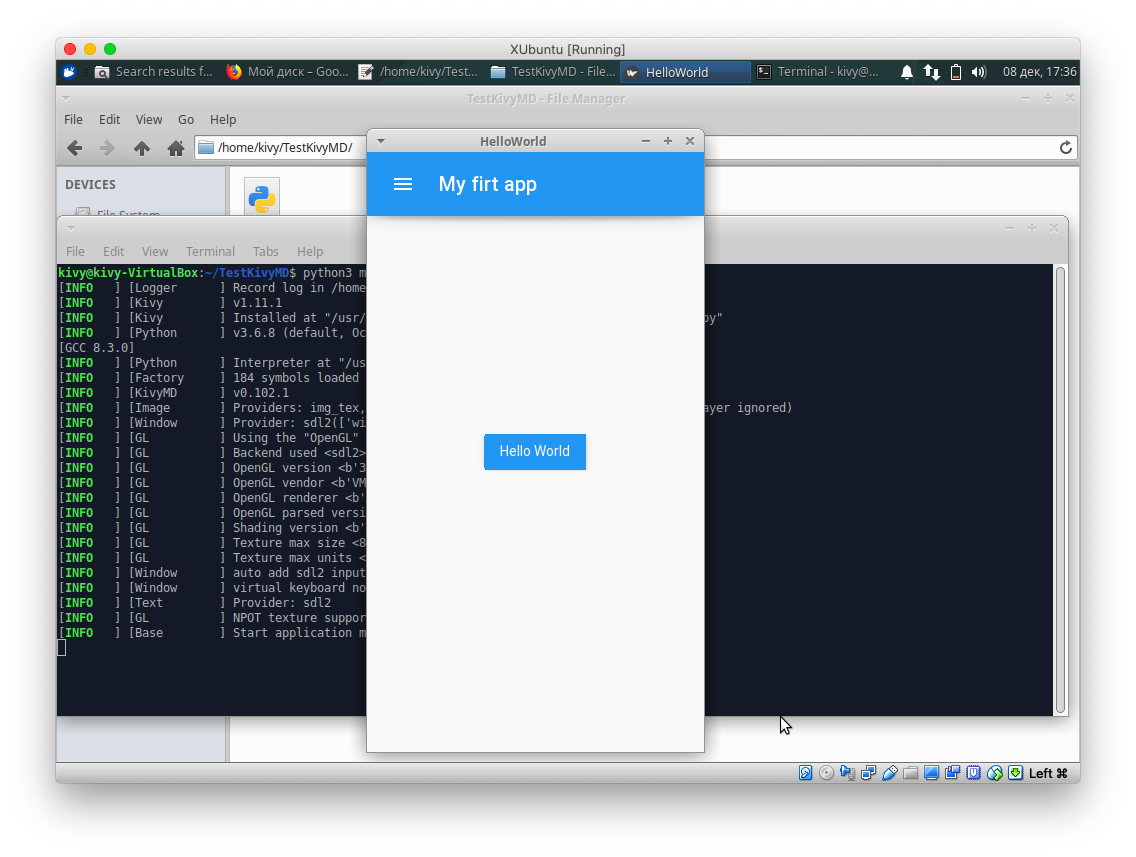
The result of the script will be a screen with the Toolbar and one button "Hello World":
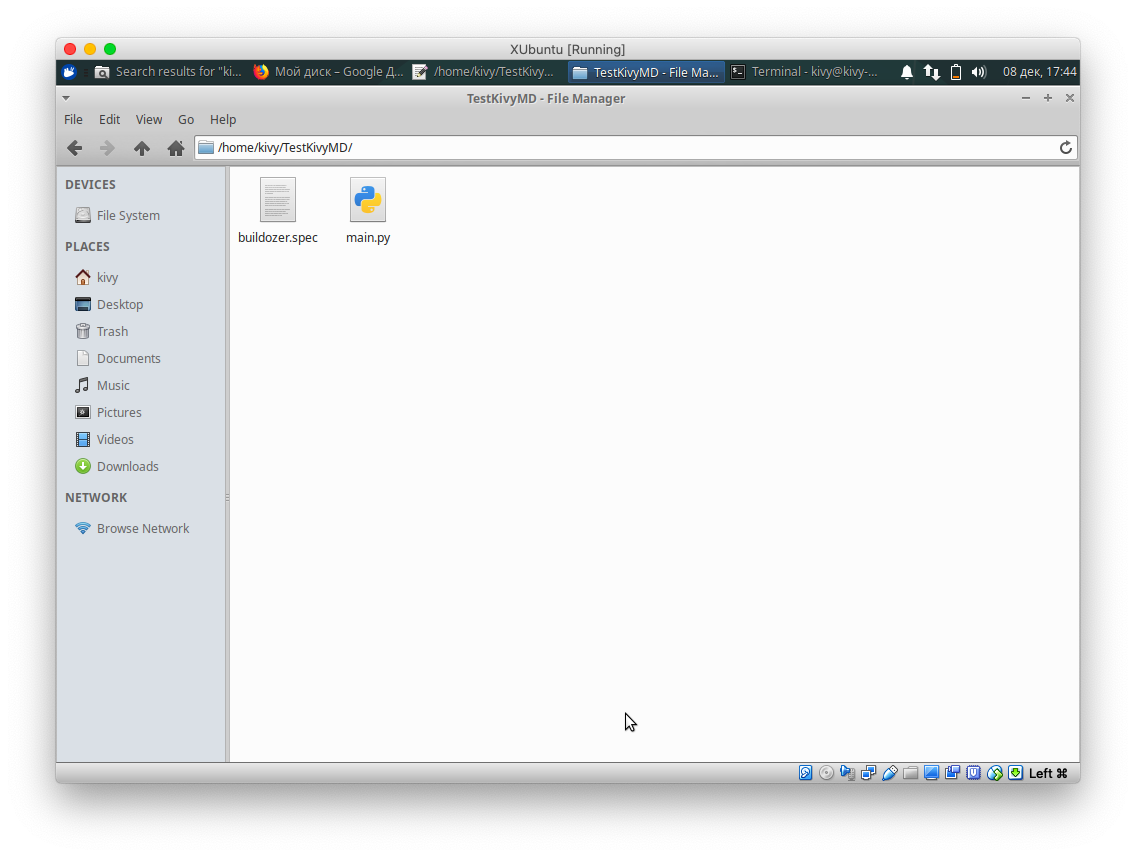
Next, we need to create the buildozer.spec specification file, which should be located in the same directory as the main.py file:
If you did not close the terminal (if the terminal was closed, open it in the TestKivyMD directory), enter the command:
buildozer init
This command will create a default specification file. Open it and edit:
[app]
Everything is clear here, therefore, additional comments are unnecessary. Read carefully the default specification, in it you can specify the path to the icon, flash when loading the application and much more. I left only what we now need to build our test package. And, actually, we start the build process with the command in the terminal:
buildozer android debug
You can safely go to the kitchen and make coffee, because for the first time the process of loading and compiling libraries will take a very long time. All subsequent assemblies take 10-20 seconds.
Coffee is drunk and it's time to look into the terminal:
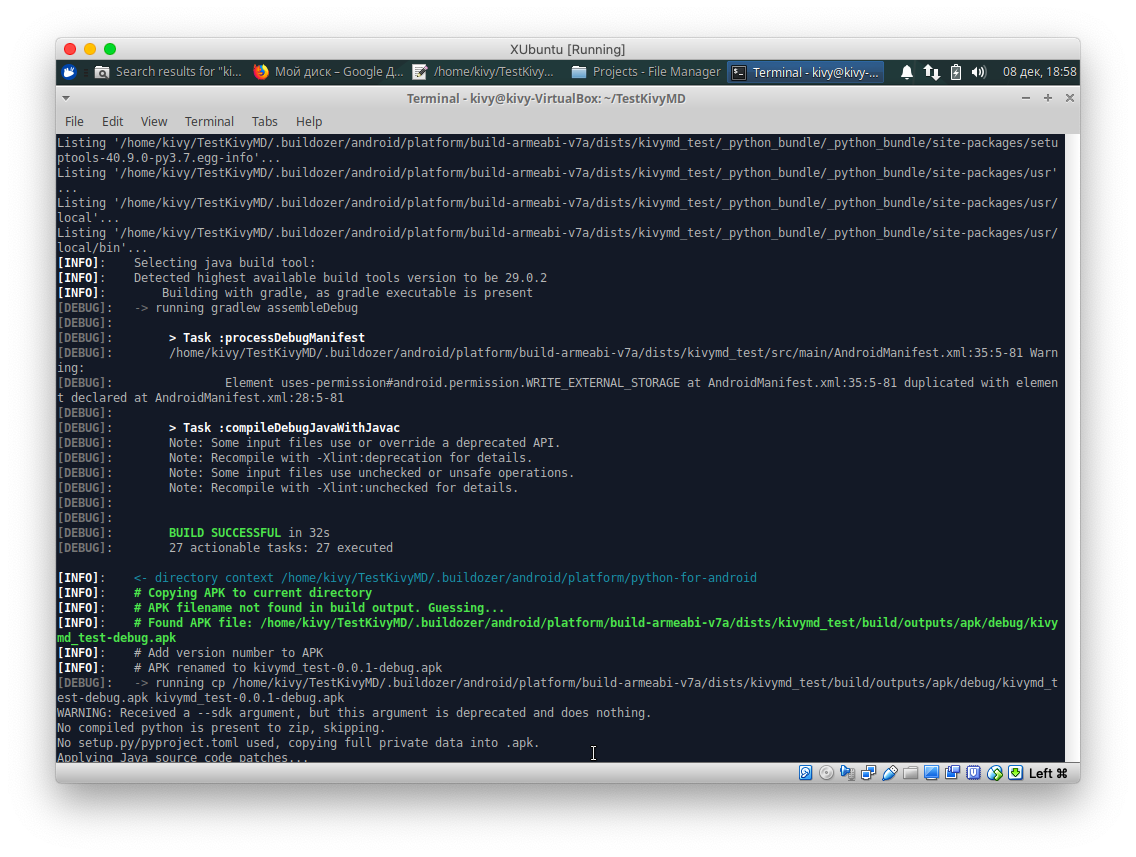
Voila! Our application is built! It's time to drop it on your smartphone and run:
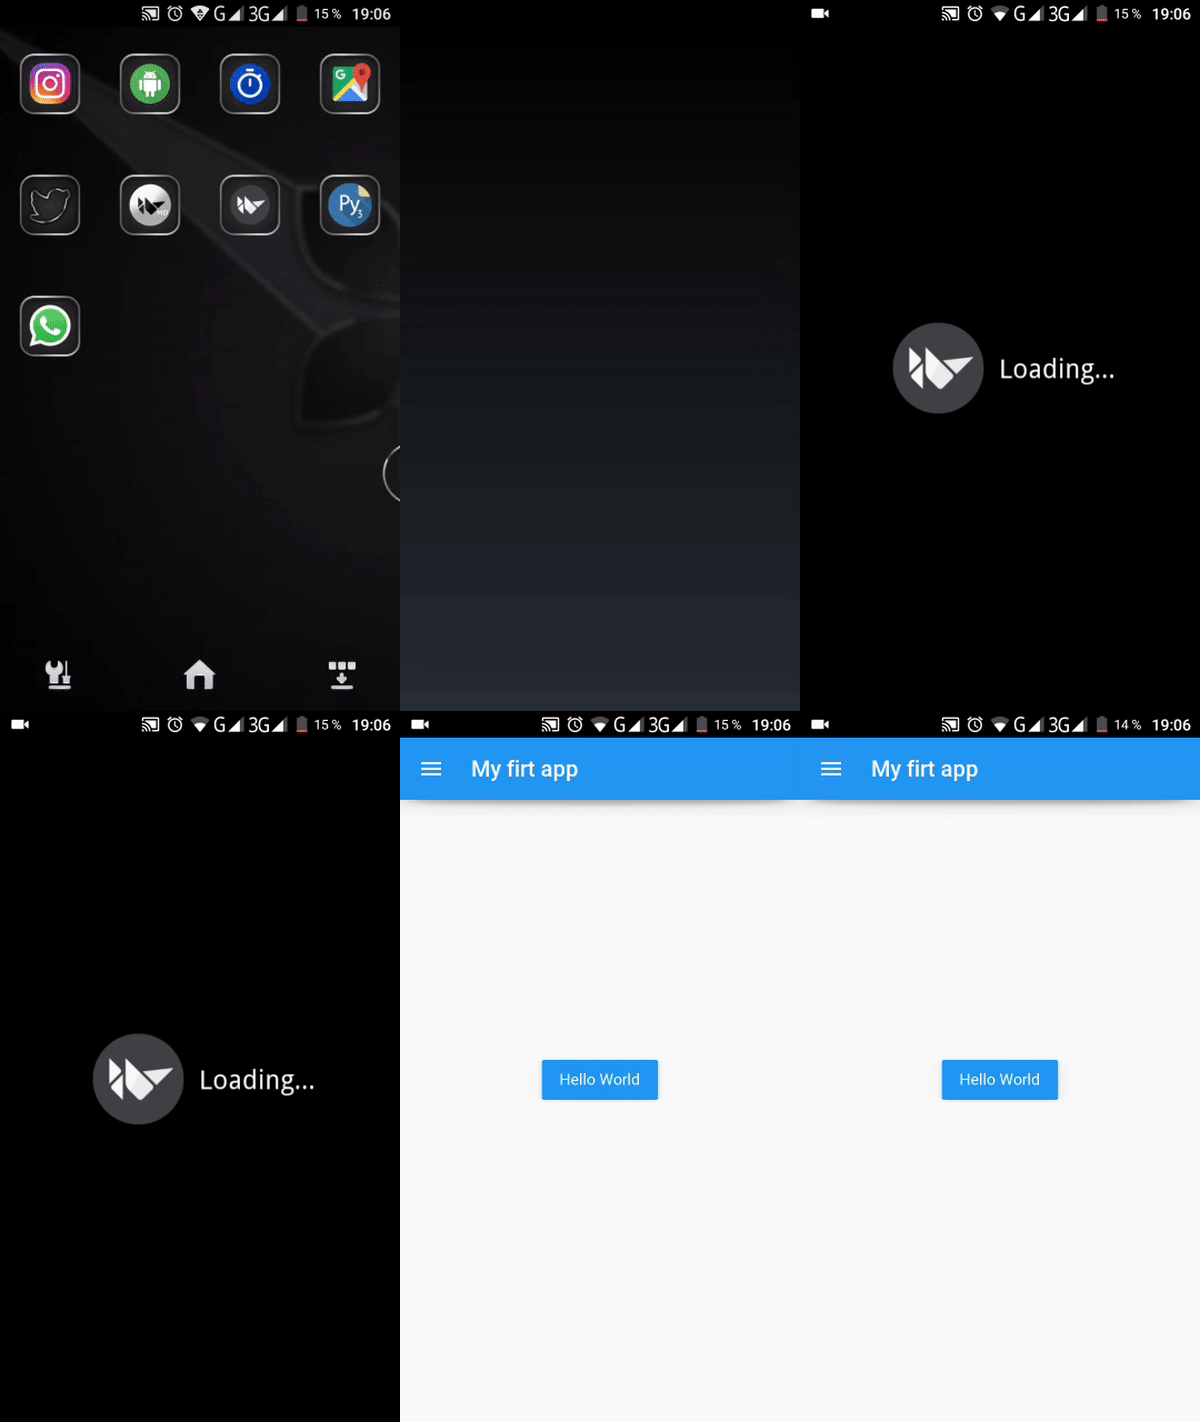
Everything works! And it turns out not everything is as complicated as it seemed.
They also asked me:
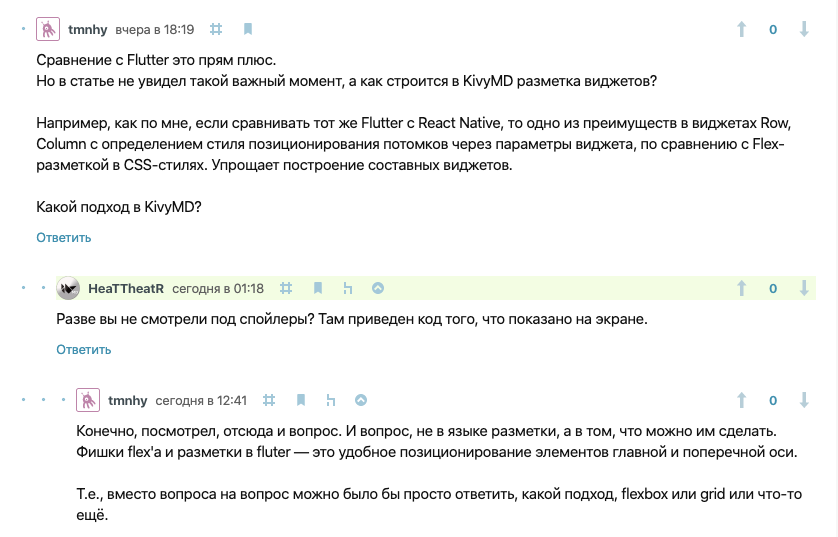
Neither Flutter nor React Native have any advantages over the Kivy Language markup language, which allows you to create and position live layouts and widgets. As for me, the way UI is built in Flutter is a real perversion. Only a sick person could think of this. In order not to be unfounded, let's look at the Flutter code and the Kivy code of the same simple application ... It will look like this:
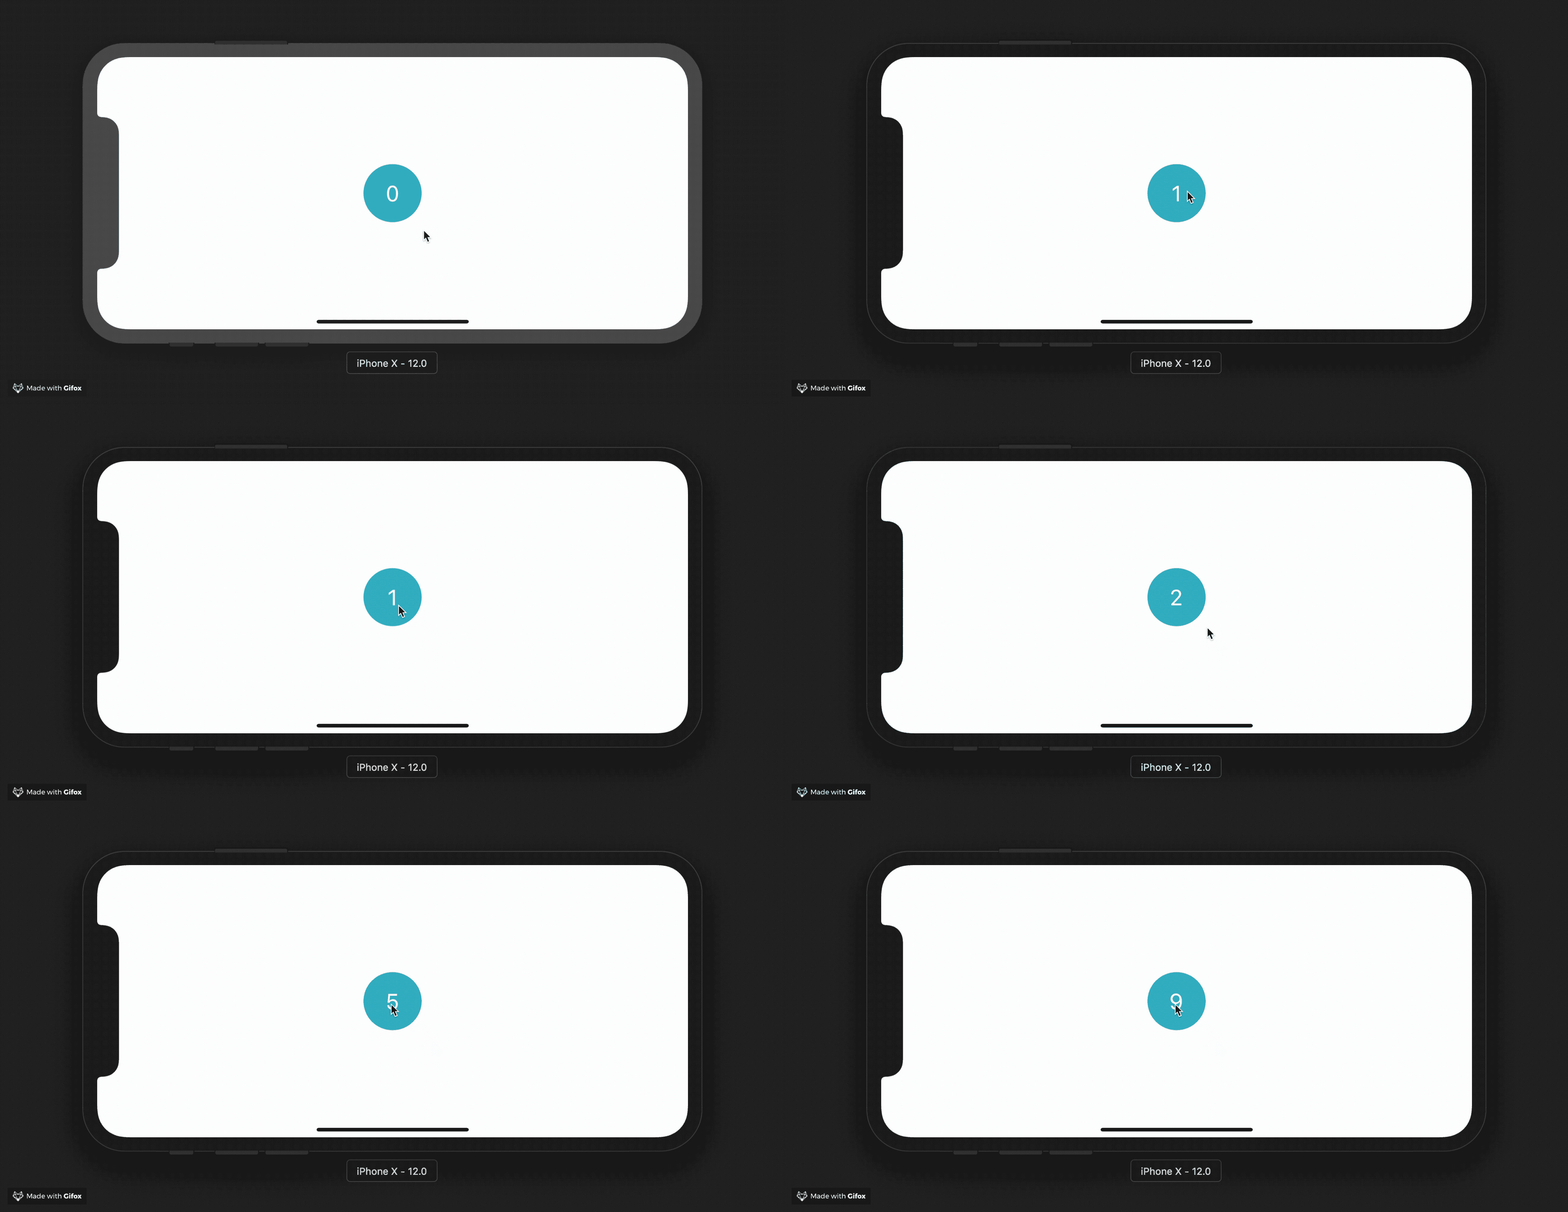
Below I give the code from the article
About Flutter, briefly: Basics :
import 'package:flutter/widgets.dart'; main() => runApp( Directionality( textDirection: TextDirection.ltr, child: Container( color: Color(0xFFFFFFFF), child: App(), ), ), ); class App extends StatelessWidget { @override Widget build(BuildContext context) { return Center( child: GestureDetector(
And here is exactly the same, but using Kivy and KivyMD:
from kivy.lang import Builder from kivymd.app import MDApp KV = """ #:import get_color_from_hex kivy.utils.get_color_from_hex Screen: MDCard: MDLabel: value: 0 text: str(self.value) halign: "center" on_touch_down: self.value += 1 canvas.before: Color: rgba: get_color_from_hex("#4eaabe") Ellipse: pos: self.center[0] - dp(25), self.center[1] - dp(25) size: dp(50), dp(50) """ class HelloWorld(MDApp): def build(self): return Builder.load_string(KV) HelloWorld().run()
In my opinion, the conclusion is obvious and does not need my comment ...
I hope it was useful to you. I’m leaving a poll on the topic “Did you manage to build an application for Android”.