Frightened by the prices of astrotrackers and equatorial mounts of famous brands, Google several options. Each had its own + and -, but all of them were united by one thing - the door of the barn. Or as the English-speaking citizens of our planet say - Barn Door.
The latest article and the most detailed appeared
here on Habré . Taking a little from everyone, I decided to build something similar.
I liked the idea of an adjustable rotation speed. But in my opinion, the thin pin and the size of the device did not suit me.
It took almost 6 months. Thanks to Aliexpress, not to express at all.
So, I started by drawing what I wanted in SOLIDWORKS.

He painted everything from planks to nuts.
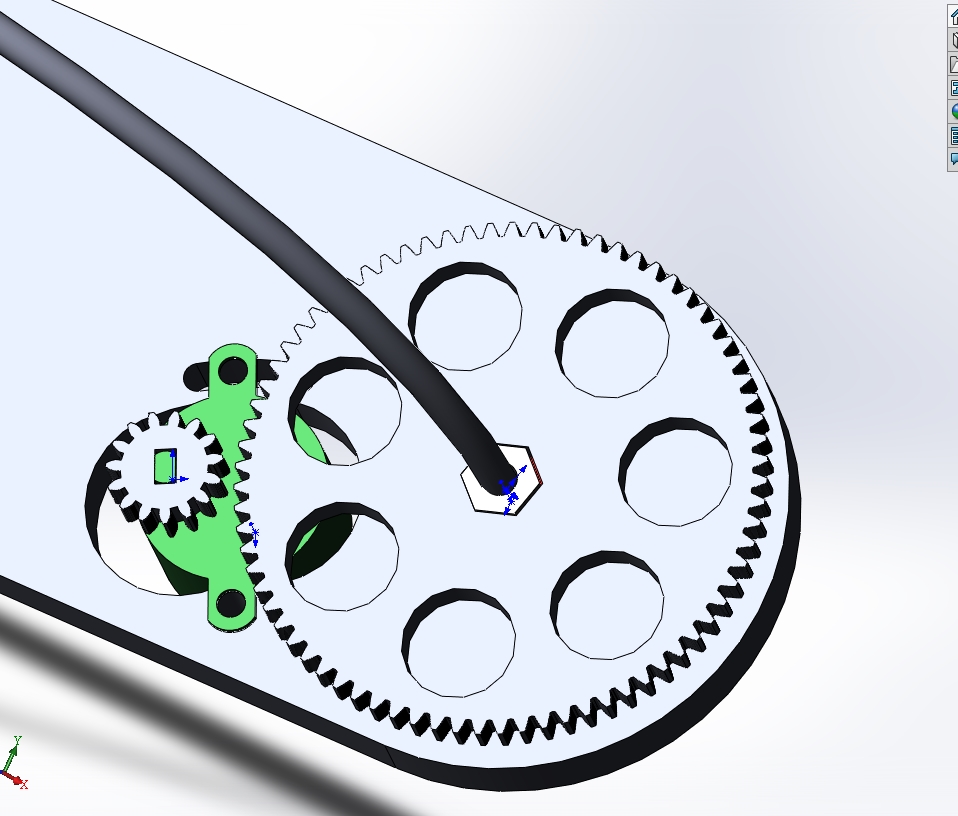
Since my gut asks, “more, higher, stronger,” I decided to make the gear ratio on the gears 1: 5.
The first version of the gear: height 6mm, nut m5.

Having started the preliminary assembly, it turned out that the gear on the engine is higher than the gear on the stud. What to do? Draw and print again. The benefit of a 3D printer is at hand.
Further worse.
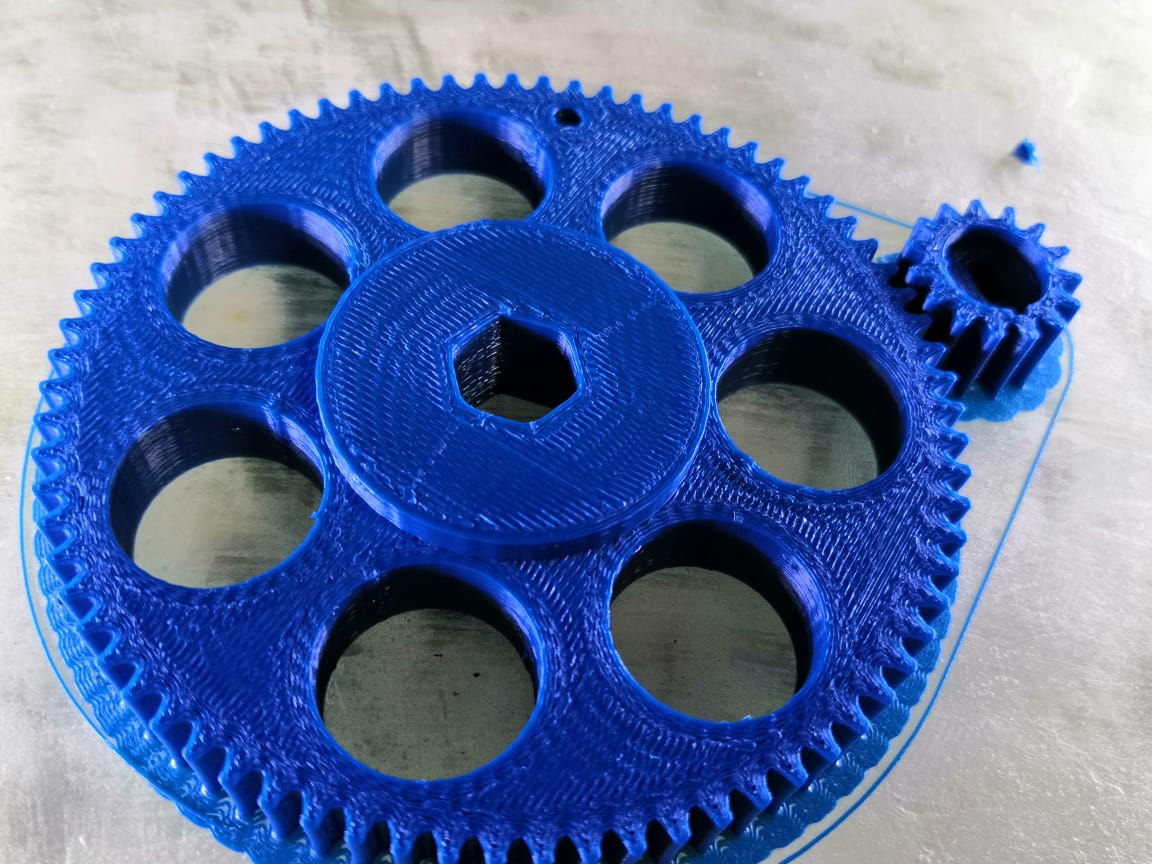
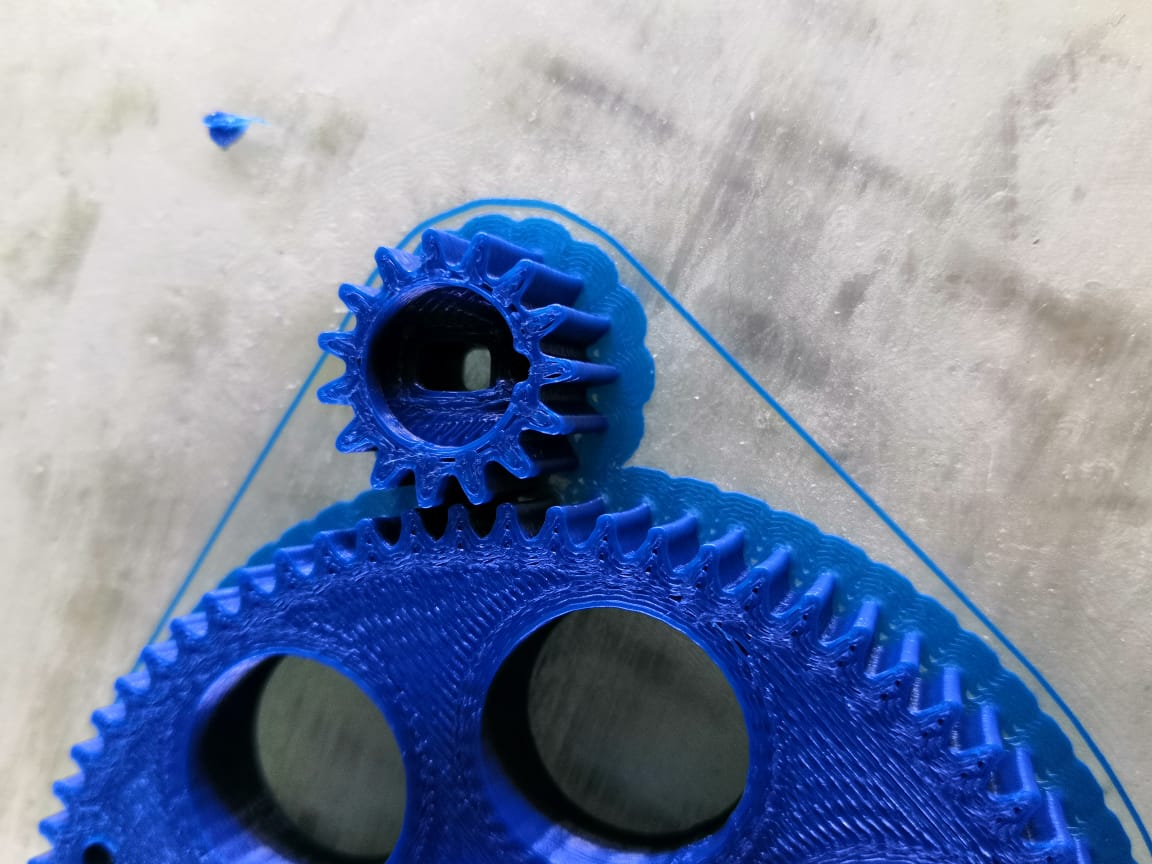
He added a supporting part to reduce friction and raise the gear, plus increased its thickness to 12 mm total and 10 mm - gear.
He made the “motor” gear with release for a deep landing. And in each of the gears made a mark in the form of a 2mm hole for rotation control.
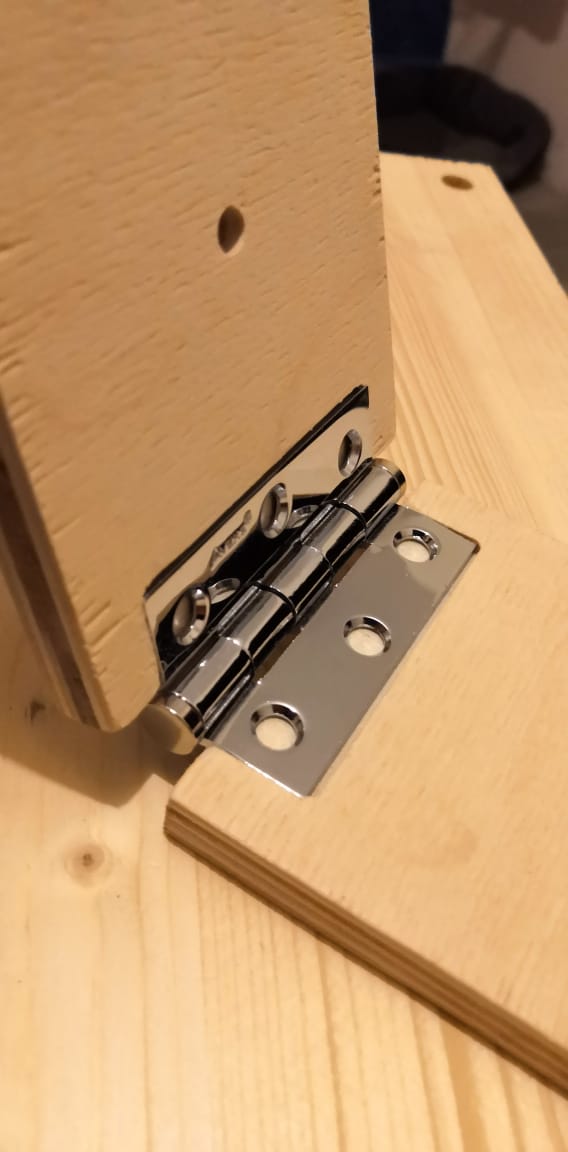
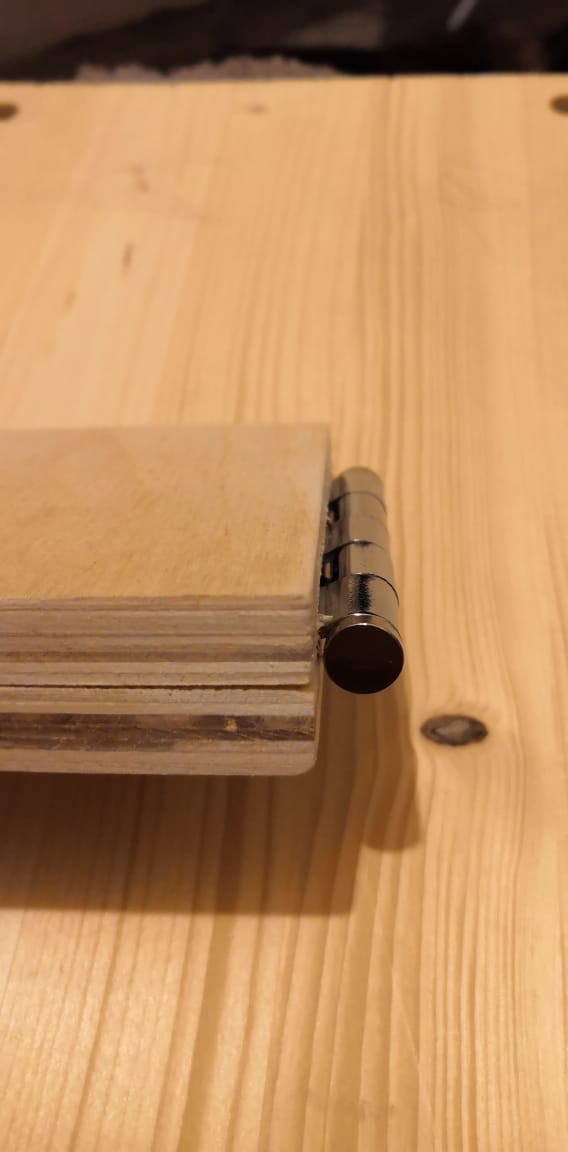
The loop for the "device" was selected taking into account the width and minimum play. 100rub for 2pcs.

To reduce the error in opening, I redid the base and the reciprocal part. Made a sample under the loop. It's a pity there is no CNC router. I have to order. Dimensions 240x80mm.
Our milling machines are made of plywood 10 mm for 300 rubles. along with plywood.
Most of all, the 6mm stud is in doubt. Her accuracy, to put it mildly, is not very. Somewhere the nut flies, but somewhere the key could not turn.
At the time of writing, everything is in a disassembled state. A new foundation will be ready tomorrow.
Since the “founder” of the astrotracker wrote everything in detail, the least difficult was programming. 20min for everything. True, from the beginning I remembered mathematics for the 5th grade, astronomy for the 9th, physics and Excel. All this took all day. Since, well, I didn’t want the engine to rotate at the right speed. Plus, I slightly changed the "default speed" to 297, since the size of the stud and tracker are different. But in fact the assembly will be adjusted again. And changed the purpose of 2 buttons. Now they add not 10 units each, but 100 each. I decided so, I can adjust 1 stellar speed to 0.10 units, but I want to make a time-lapse, for example, faster. And also, return the tracker to its original state, with less keystrokes. But I think the practice will then put everything in place.
The assembly after all the modifications I undertake to cover later, as well as post the first results.
There was an idea to make a base from Al with a homemade loop, and install a laser pointer in the loop, thereby fixing the center. But this thought was expelled, with the words - "Try this, then you will go further."
All clear, starry sky.