I recently published
an article on how to quickly configure npm packages before publishing to opensource. In it, I sorted out the versioning setup, CI, building a workflow and a convenient deploy to the demo page. All the tips in that article apply to Angular libraries. But still, the specifics of Angular will not allow you to turn around right away.
From the sixth version of Angular we use Angular Workspaces. This is a great tool for organizing a project, but it can add complexity to its initial setup for open source. We decided to foresee them and automate the process.
How to organize Angular Workspace for a library
Here we have an empty workshop. We can generate a library in it for the library itself and application for the demo. Get a convenient project structure:
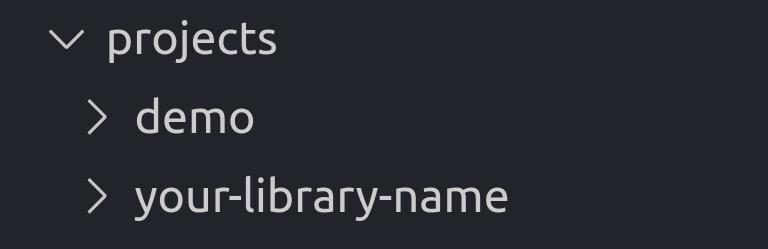
In addition to the demo, you can add, for example, an application with e2e tests that will use your library and run tests on it.
Thanks to the workspaces, we can manage several libraries from one place:
- The general package.json contains a set of commands both for working with individual libraries, and for all at once. For example, the simultaneous release of multiple packages, the build: all command, or coverage analysis for the entire workspace.
- Adding new commands to package.json can be easily automated with Angular Schematics. This will be useful for projects that consist of several packages, because this way we minimize the human factor.
Customize the demo
The demo is also part of the workspace, but with the application type. The first rule of the demo for the library is that it should easily run in some online IDE with the current version.
This may cause problems. Online IDEs can deploy regular Angular applications, but they can’t cope with workspaces. They try to find the entry point to the Angular application on their own, and not run the ng serve we have prepared. They do not find and swear for various reasons - depending on how this or that IDE starts.
We will solve this problem right away for all online IDEs. We put our angular.json and package.json into the project folder with the demo, as if we are setting up an independent project:
angular.json{ "$schema": "./node_modules/@angular/cli/lib/config/schema.json", ... "projects": { "demo": { "architect": { "build": { ..., "options": { ... "tsConfig": "tsconfig.demo.json", } ...
tsconfig.demo.json { "extends": "./tsconfig.json", "compilerOptions": { "outDir": "../out-tsc/app", "types": [], "paths": {} } }
The TS configuration remains the same, but paths is redefined on an empty object so that the project starts without depending on the overall workspace.
package.json ... “dependencies”: { ... “your-library-name”: “latest” } ...
It turns out that now our demo application can start in two variations.
The first option is a demo for developmentWe usually start the project from the root folder of the workspace. It is built with general settings and from libraries in neighboring folders. So we can develop our library and immediately see the changes on the demo.
The second option is a demo for viewing in the online IDEWe start the project from the folder with the demo. Then the local package.json and angular.json will be used: the demo will start independently and install the latest version of our library from NPM.
Visitors to the demo in the online IDE will be able to experiment with the real version of the package. Just give them a link to stackblitz or codesandbox in the format:
https://stackblitz.com/github/[User|Organization]/[Repository]/tree/master/projects/demo
https://codesandbox.io/s/github/[User|Organization]/[Repository]/tree/master/projects/demo
Turnkey solution
We have already assembled a full starter and
put it on github .
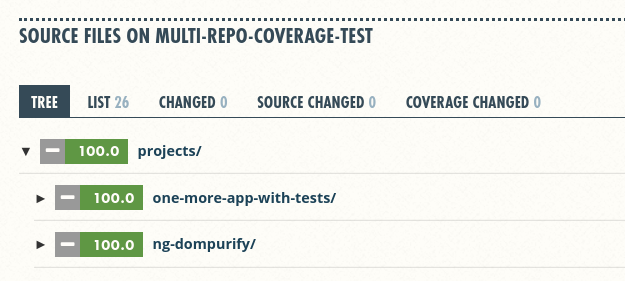
He knows how to build new libraries using the schematic, generating and updating commands in package.json: both for the new library and for working with everyone at once. For example, at any time you can publish all libraries in NPM with one command or automatically synchronize their versions when updating. And the coveralls team will go through each package separately and collect coverage data, preserving their structure:
The project on our starter turns out right away with the configured CI on Travis and ready for publishing a demo. Still there are all the commands for working with SSR - this will allow you to check your library in server rendering mode.
It contains and filled in
CODE_OF_CONDUCT.md , as well as templates for issues and pool requests on the github. You do not need to include anything, the github will pick them up by itself.
Based on this starter, two libraries have already been made:
We try to notice all the problems that arise when creating libraries in order to solve them, automate and complement our starter. If you experience difficulties with it or if something is not clear, be sure to write to Issues on the project’s github.