Vor einigen Jahren habe ich eine
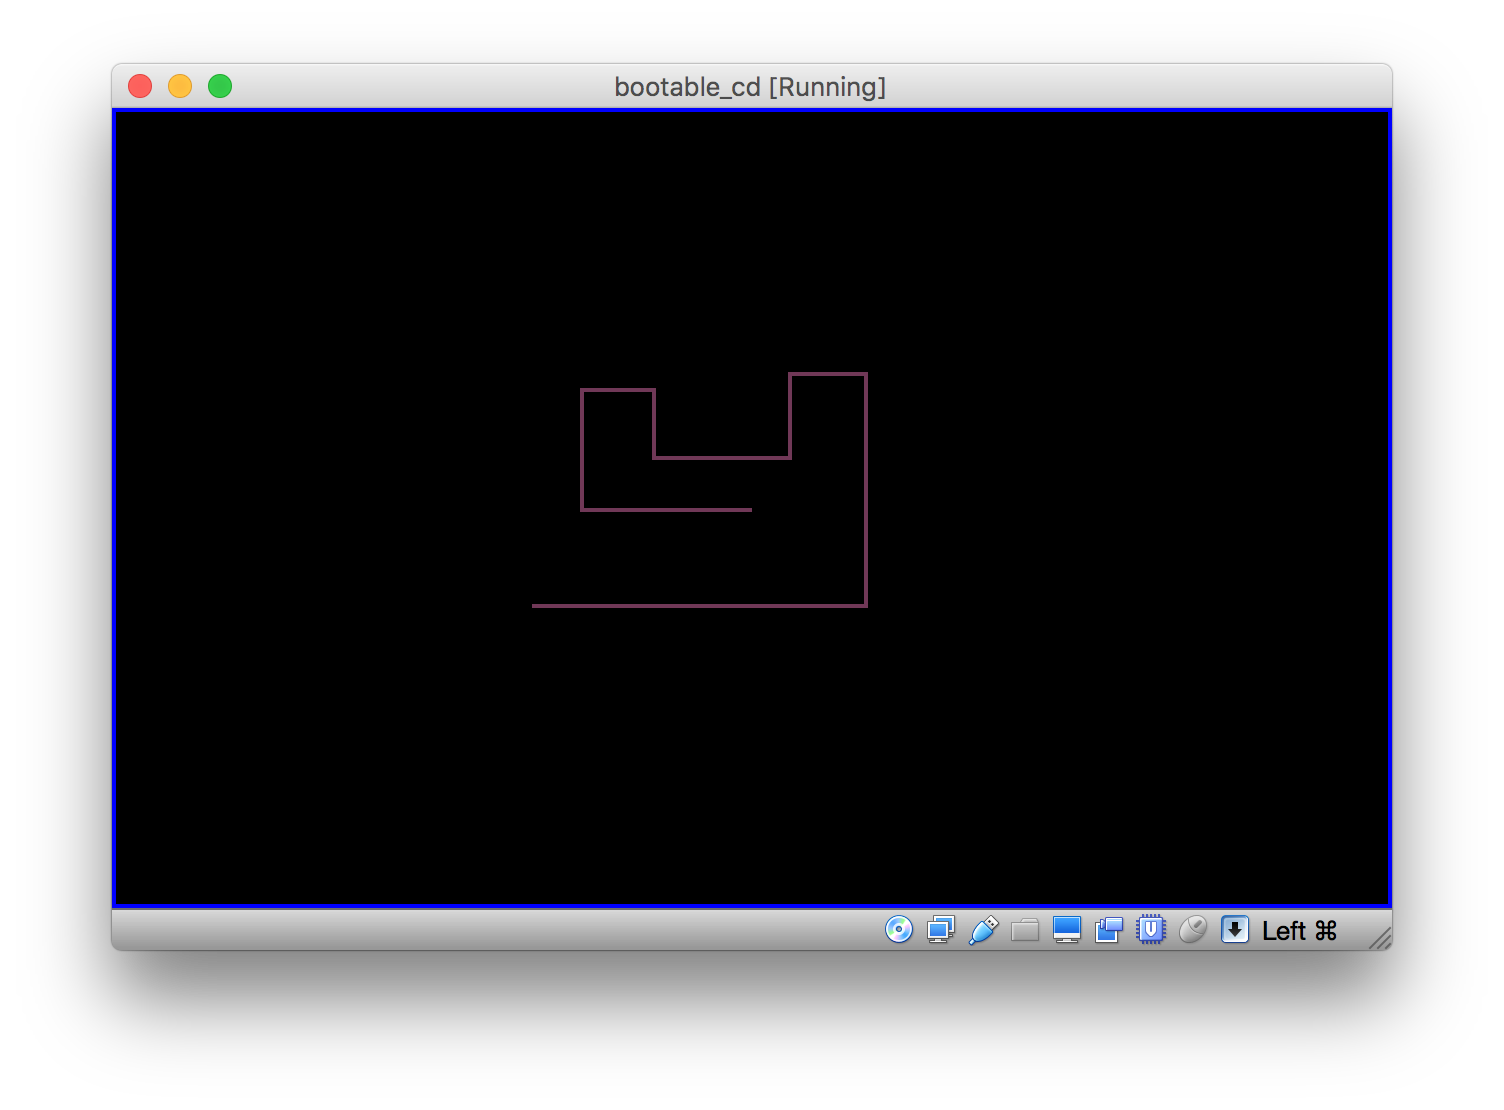
bootfähige Diskette und ein Retro-Spiel erstellt , die in einen Tweet passen. Seitdem hat Twitter die Länge der Tweets verdoppelt, daher habe ich beschlossen, eine bootfähige CD zu erstellen. Es läuft eine leicht verbesserte Version von Tron.
perl -E 'say"A"x46422,"BDRDAwMQFFTCBUT1JJVE8gU1BFQ0lGSUNBVElPTg","A"x54,"Ew","A"x2634,"/0NEMDAxAQ","A"x2721,"BAAAAYQ","A"x30,"SVVVqogAAAAAAAEAF","A"x2676,"LMBaACgB76gfbgTAM0Qv8D4uYAI86qqgcc+AXP45GA8SHIRPFB3DTeYSEhyBSwCa8CwicMB3rSG/sHNFbRFJjAke9rrwQ","A"x2638'|base64 -D>cd.iso
Der Code im Tweet erstellt ein bootfähiges CD-ROM-Image:
cd.iso . Sie können den Code auf qemu oder Ihre bevorzugte virtuelle Maschine hochladen - und mit den Pfeiltasten spielen. Sie können sogar ISO auf CD-R brennen und auf einem echten Computer booten.
Um ein CD-Image manuell zu erstellen, müssen Sie zunächst ein grundlegendes Verständnis von
ISO 9660 erlangen. Leider sind Dokumente mit ISO-Standards normalerweise teuer. ISO 9660 ist jedoch dasselbe wie
ECMA 119 , sodass die Spezifikationen kostenlos gelesen werden können.
ISO 9660 hat viele Erweiterungen wie UDF, El Torito, RockRidge, Joliet usw. Für Boot-Images ist nur
El Torito für uns wichtig. Die El Torito-Spezifikation ist meiner Meinung nach schlecht geschrieben. Es gibt Fehler (z. B. die letzte Zeile in Tabelle 7), es ist leicht zu vergessen, dass die Werte hexadezimal sind (
0x Präfixe sind nicht angegeben), Zahlen nicht intuitiv sortiert sind usw. Zum Glück ist das Dokument recht klein.
Um eine Bootdiskette zu erstellen, schreiben wir zunächst 17 leere Sektoren, gefolgt von einem Satz Volume Descriptor Set. Jeder Sektor ist 2048 Bytes.
Hinweis Die ISO-9660-Spezifikation besagt, dass das Volume Descriptor Set mit Sektor 16 beginnt. Die El Torito-Spezifikation erfordert den Start eines Boot-Datensatzes in Sektor 17. Technisch gesehen sollten Sie in Sektor 16 einen Dummy-Volume-Deskriptor einfügen, aber ohne ihn funktioniert alles einwandfrei.
Wir schreiben den ersten Banddeskriptor:
0x00 // Type (0 = boot record) 'CD001' // Identifier 0x01 // Version 'EL TORITO SPECIFICATION' // Boot System Identifier 9 x 0x00 // Padding 32 x 0x00 // Unused 0x13 0x00 0x00 0x00 // Boot Catalog address (in absolute sectors) 1973 x 0x00 // Unused
Der folgende Sektor enthält den Volume Descriptor Set Terminator:
0xff // Type (255 = terminator) 'CD001' // Identifier 0x01 // Version 2041 x 0x00 // Unused
Auf die Volume-Deskriptoren folgt der Boot-Katalog. El Torito unterstützt verschiedene Emulationsmodi. Eine CD-ROM kann eine Startdiskette, eine bootfähige Festplatte usw. emulieren. Ich habe keine Emulation installiert, das heißt, das BIOS lädt eine bestimmte Anzahl von Sektoren - und nimmt unseren Bootloader.
Die Prüfsumme wird so berechnet, dass alle 16-Bit-Werte im Datensatz zu 0 summiert werden (mod 65536).
Erster Eintrag im Boot-Verzeichnis (Verifizierungseintrag):
0x01 // Header ID 0x00 // Platform ID (0 = Intel x86) 0x00 0x00 // Reserved 'a' // ID string 23 x 0x00 // Padding cksum cksum // Checksum (2 bytes) 0x55 0xaa // Key bytes
Zweiter Datensatz (Standard):
0x88 // Boot Indicator (0x88 = bootable) 0x00 // Boot Media Type (0 = no emulation) 0x00 0x00 // Load segment 0x00 // System Type 0x00 // Unused 0x01 0x00 // Number of sectors to load 0x14 0x00 0x00 0x00 // Virtual disk address (in absolute sectors) 20 x 0x00 // Unused
Dann Nullen bis zum Ende des Sektors:
1984 x 0x00
Der nächste Sektor ist unser Bootloader und Retro-Spiel:
; to compile: ; nasm bootloader.asm -o bootloader.img [bits 16] ; Pragma, tells the assembler that we ; are in 16 bit mode (which is the state ; of x86 when booting from a floppy). [org 0x7C00] ; Pragma, tell the assembler where the ; code will be loaded. mov bl, 1 ; Starting direction for the worm. push 0xa000 ; Load address of VRAM into es. pop es restart_game: mov si, 320*100+160 ; worm's starting position, center of ; screen ; Set video mode. Mode 13h is VGA (1 byte per pixel with the actual ; color stored in a palette), 320x200 total size. mov ax, 0x0013 int 0x10 ; Draw borders. We assume the default palette will work for us. ; We also assume that starting at the bottom and drawing 2176 pixels ; wraps around and ends up drawing the top + bottom borders. mov di, 320*199 mov cx, 2176 rep draw_loop: stosb ; draw right border stosb ; draw left border add di, 318 jnc draw_loop ; notice the jump in the middle of the ; rep stosb instruction. game_loop: ; We read the keyboard input from port 0x60. This also reads bytes from ; the mouse, so we need to only handle [up (0x48), left (0x4b), ; right (0x4d), down (0x50)] in al, 0x60 cmp al, 0x48 jb kb_handle_end cmp al, 0x50 ja kb_handle_end ; At the end bx contains offset displacement (+1, -1, +320, -320) ; based on pressed/released keypad key. I bet there are a few bytes ; to shave around here given the bounds check above. aaa cbw dec ax dec ax jc kb_handle sub al, 2 imul ax, ax, byte -0x50 kb_handle: mov bx, ax kb_handle_end: add si, bx ; The original code used set pallete command (10h/0bh) to wait for ; the vertical retrace. Today's computers are however too fast, so ; we use int 15h 86h instead. This also shaves a few bytes. ; Note: you'll have to tweak cx+dx if you are running this on a virtual ; machine vs real hardware. Casual testing seems to show that virtual machines ; wait ~3-4x longer than physical hardware. mov ah, 0x86 inc cl int 0x15 ; Draw worm and check for collision with parity ; (even parity=collision). xor [es:si], ah ; Go back to the main game loop. jpo game_loop ; We hit a wall or the worm. Restart the game. jmp restart_game TIMES 2048 - ($ - $$) db 0 ; Fill the rest of the sector with 0
Dann habe ich ein Skript geschrieben, um den Bootloader zu kompilieren, das Image zu erstellen und einen Tweet zu generieren. Schließlich habe ich die CD gebrannt und überprüft, ob
alles auf echter Hardware funktioniert .