A veces necesita hacer un cliente ligero astuto, con una autorización inusual y bajos costos.
La forma más fácil de usar esto es Linux.
Para las PC de placa única basadas en ARM, la distribución
Armbian , que se basa en la rama de Debian, está muy extendida.
Para los experimentos, tuve una placa OrangePi One
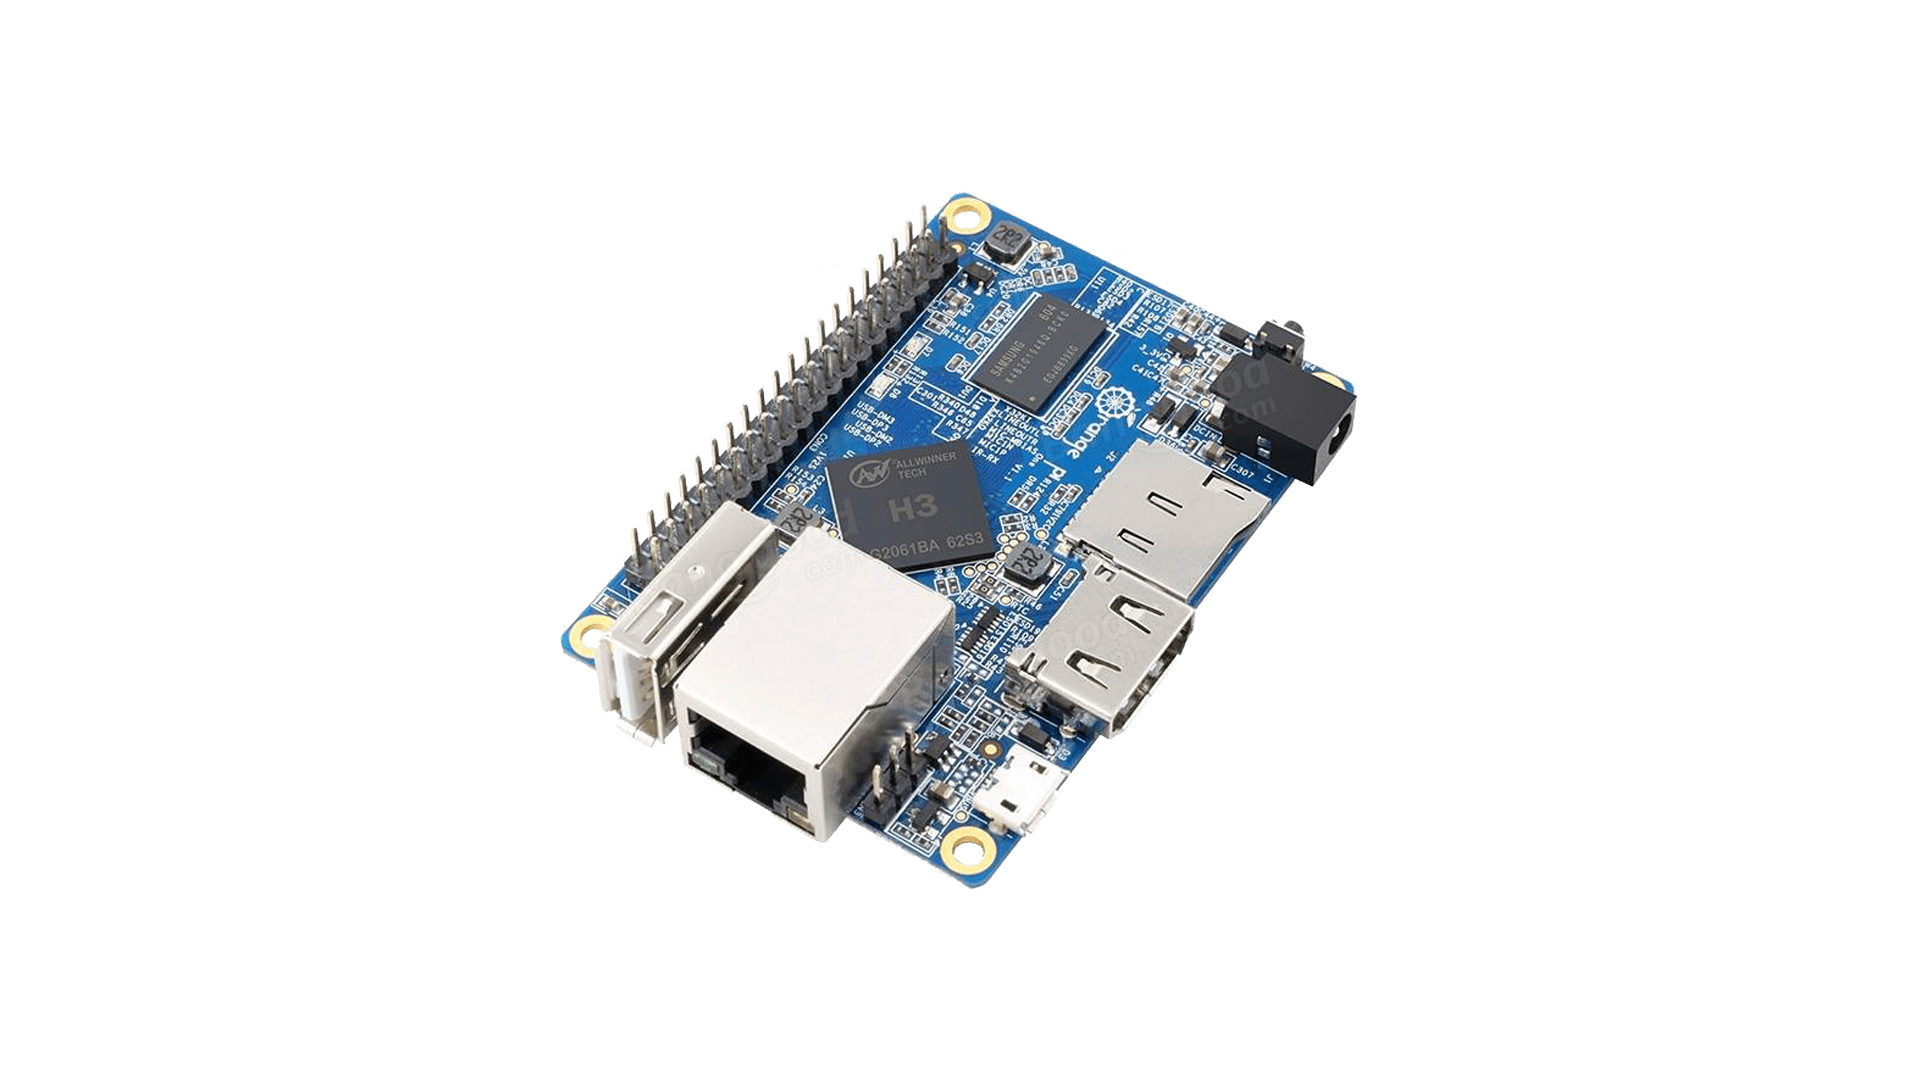
y una tarjeta MicroSD en 2G: decidí hacer de este un cliente RDP delgado con una ventana de bloqueo y sin software innecesario.
La distribución armbiana para este tablero está
aquí .
Descargue el último con una nota:
Escenarios de uso de servidor o escritorio ligero.No tendrá un escritorio que no sea necesario en el Thin Client.
Escribimos la imagen en MicroSD (utilicé
sourceforge.net/projects/win32diskimager ).
Después de grabar: inserte MicroSD, conecte todas las interfaces (LAN, pantalla, teclado, mouse), aplique energía, espere a que se cargue.
Cuando se inicie el sistema, se le pedirá que ingrese su nombre de usuario y contraseña. También puede ingresar SSH mirando la dirección DHCP provista (aproveché esta oportunidad para no manejar la configuración desde el teclado y comencé PuTTY).
Inicio de sesión:
rootContraseña:
1234Después de iniciar sesión, el sistema le pedirá que cambie la contraseña: ingrese el
1234 actual y dos veces una contraseña nueva.
También se propone crear un usuario, llamémoslo
usuario .
Después de eso, procedemos a configurar el sistema para la tarea.
Instale los paquetes faltantes:
apt update apt install xorg lightdm xcursor-themes numix-gtk-theme numix-icon-theme apt install python-gtk2 freerdp
El inicio de sesión gráfico para systemd se activará así:
systemctl set-default graphical.target
Crea los archivos:
(hacerlos es más fácil con el editor vi; después de comenzar con el parámetro, debe presionar i para pegar, luego pegue el texto en la ventana de la consola y, cuando termine, presione Esc y escriba: w para escribir y: q para salir)
Para obtener su configuración a través de un servidor DHCP
vi /etc/dhcp/dhclient-exit-hooks.d/paramscript
setup_add() { echo $new_host_name > /etc/hostname hostname $new_host_name if [ -z "$new_nds_servers" ] ; then echo $new_routers > /tmp/rdp_server echo "testuser" > /tmp/rdp_user echo "1234test#" > /tmp/rdp_passwd else echo $new_nds_servers > /tmp/rdp_server echo $new_nds_tree_name > /tmp/rdp_user echo $new_nds_context > /tmp/rdp_passwd fi } case $reason in BOUND|RENEW|REBIND|REBOOT) setup_add ;; EXPIRE|FAIL|RELEASE|STOP) return ;; esac
este script recibe el nombre de host DHCP y nds_servers, nds_tree_name, nds_context y guarda sus valores en archivos en una carpeta temporal. Por defecto, se usará la dirección IP del enrutador.
Para configurar GTK y asignarlo a ellos, cree
vi /home/user/.gtkrc-2.0
gtk-icon-theme-name = "Numix" gtk-theme-name = "Numix" gtk-cursor-theme-name = "whiteglass"
Para configurar el administrador gráfico LightDM:
vi /etc/lightdm/lightdm.conf
[LightDM] greeter-user=user [Seat:*] greeter-session=my-greeter
Después de experimentar, decidí usar greeter (el programa de inicio de sesión), por lo que no tendré que configurar el inicio de sesión automático, y el programa comenzará desde el usuario correcto.
Ahora cree el acceso directo del programa (y su carpeta):
mkdir /usr/share/xgreeters/ vi /usr/share/xgreeters/my-greeter.desktop
[Desktop Entry] Name=PyGTK+ Greeter Comment=This runs the PyGTK+ greeter, it should only be run from LightDM Exec=python /home/user/greeter.py Type=Application X-Ubuntu-Gettext-Domain=lightdm
Y el código de inicio de sesión en sí:
vi /home/user/greeter.py
El código sugiere ingresar una contraseña de 4 dígitos 0811 (día del mes con ceros insignificantes sin espacios)
Después de una entrada exitosa, xfreerdp se inicia con los parámetros recibidos.
El código se proporciona como ejemplo: puede ingresar un nombre de usuario y una contraseña para una conexión RDP, seleccionar servidores, monitorear servidores y todo lo que su imaginación es capaz de hacer, incluso la entrada de huellas digitales.