下午好,尊敬的Habr读者。 几年前,我
写过关于在Raspberry Pi上与ROS结合使用Raspberry Pi相机板的信息。 在本文和下一篇文章中,我想谈谈在安装了Ubuntu 16.04的Raspberry Pi 3上使用诸如鱼眼这样的广角相机。 我对谁问有趣呢?
首先,为什么要用鱼眼镜头? 我看过许多关于使用广角相机进行视觉测距和SLAM的文章。 由于鱼眼镜头的视角更大,因此相机提高了视觉测距的准确性。 因此,我想尝试一台具有ROS支持的Raspberry Pi这样的相机。 我在
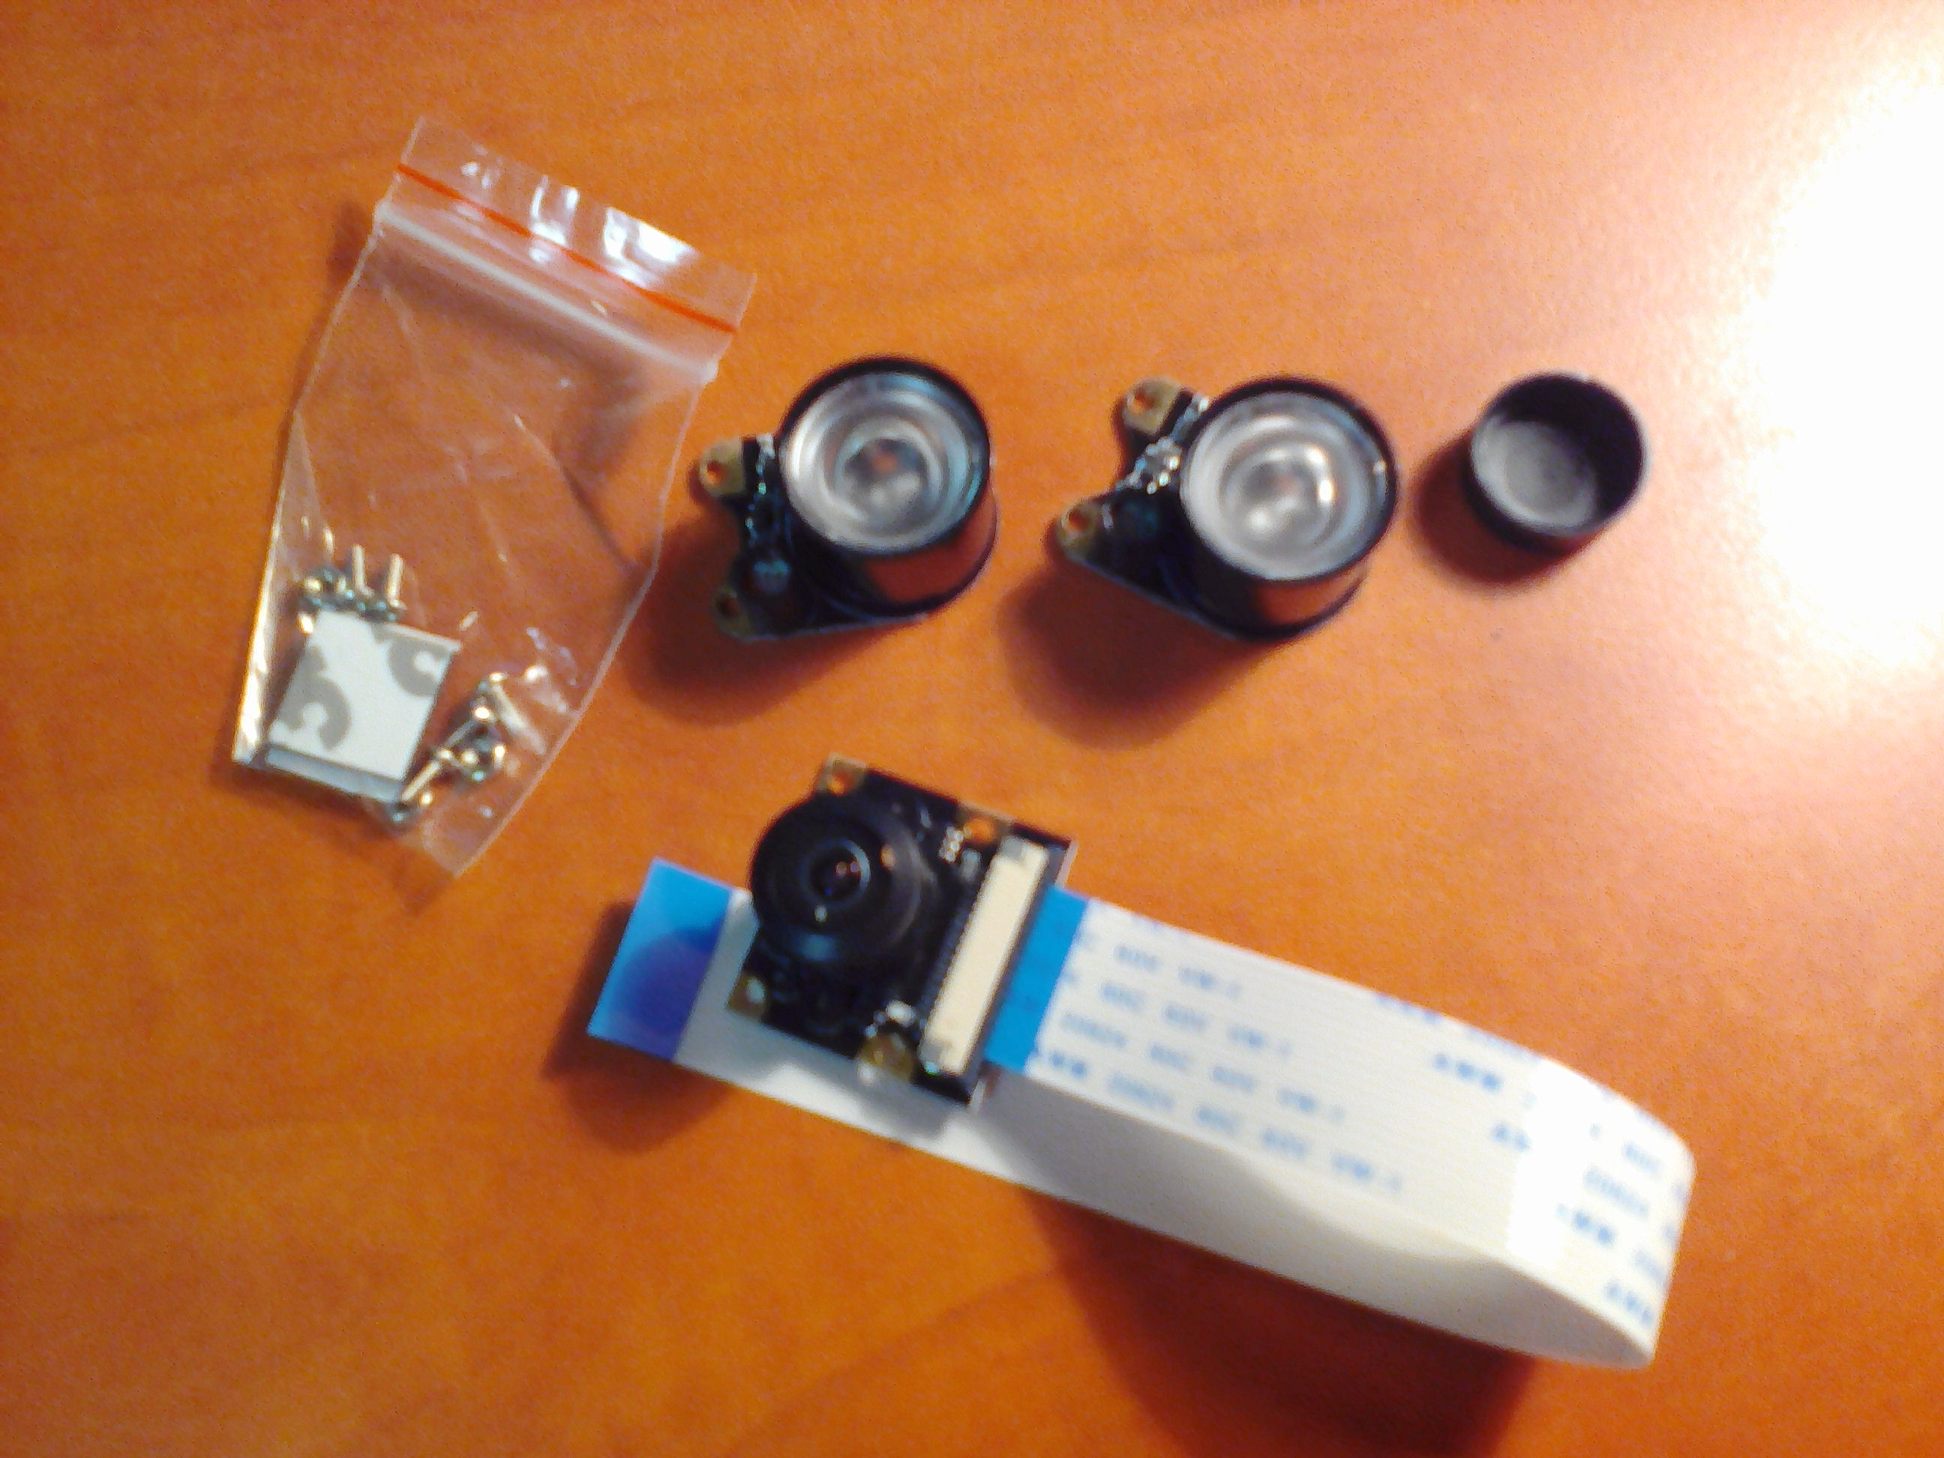
dx.com上以28美元的价格购买了具有160度角的相机。 该摄像头套件还包括两个用于夜视的红外灯:
在第一篇文章中,我将讨论安装必需的驱动程序,OpenCV 3和软件包以支持ROS中的Raspberry Pi摄像机板。
在Raspberry Pi 3上安装鱼眼镜头驱动程序
因此,让我们开始吧。 通过SSH连接到RPi 3:
ssh -Y <user>@<ip>
-Y参数解决了启动某些GUI应用程序(Qt,带有OpenCV程序图像的窗口)时出现“无法连接显示”错误的问题。
在这里了解更多。
首先,我们需要在Raspberry Pi raspi-config设置中启用相机驱动程序支持。 在Raspbian中,此服务已启用,在Ubuntu中,您需要安装它:
sudo apt-get install raspi-config
运行raspi-config:
sudo raspi-config
选择“接口”选项,然后选择“ Pi摄像机”,然后单击“是”。 最后完成。
使用raspistill实用程序检查是否启用了相机支持:
raspistill -o mypicture.jpg
如果出现错误“未检测到相机。 请仔细检查相机模块是否正确安装”,检查相机是否正确连接到Raspberry Pi。 您也可以重新启动系统(它对我有所帮助)。
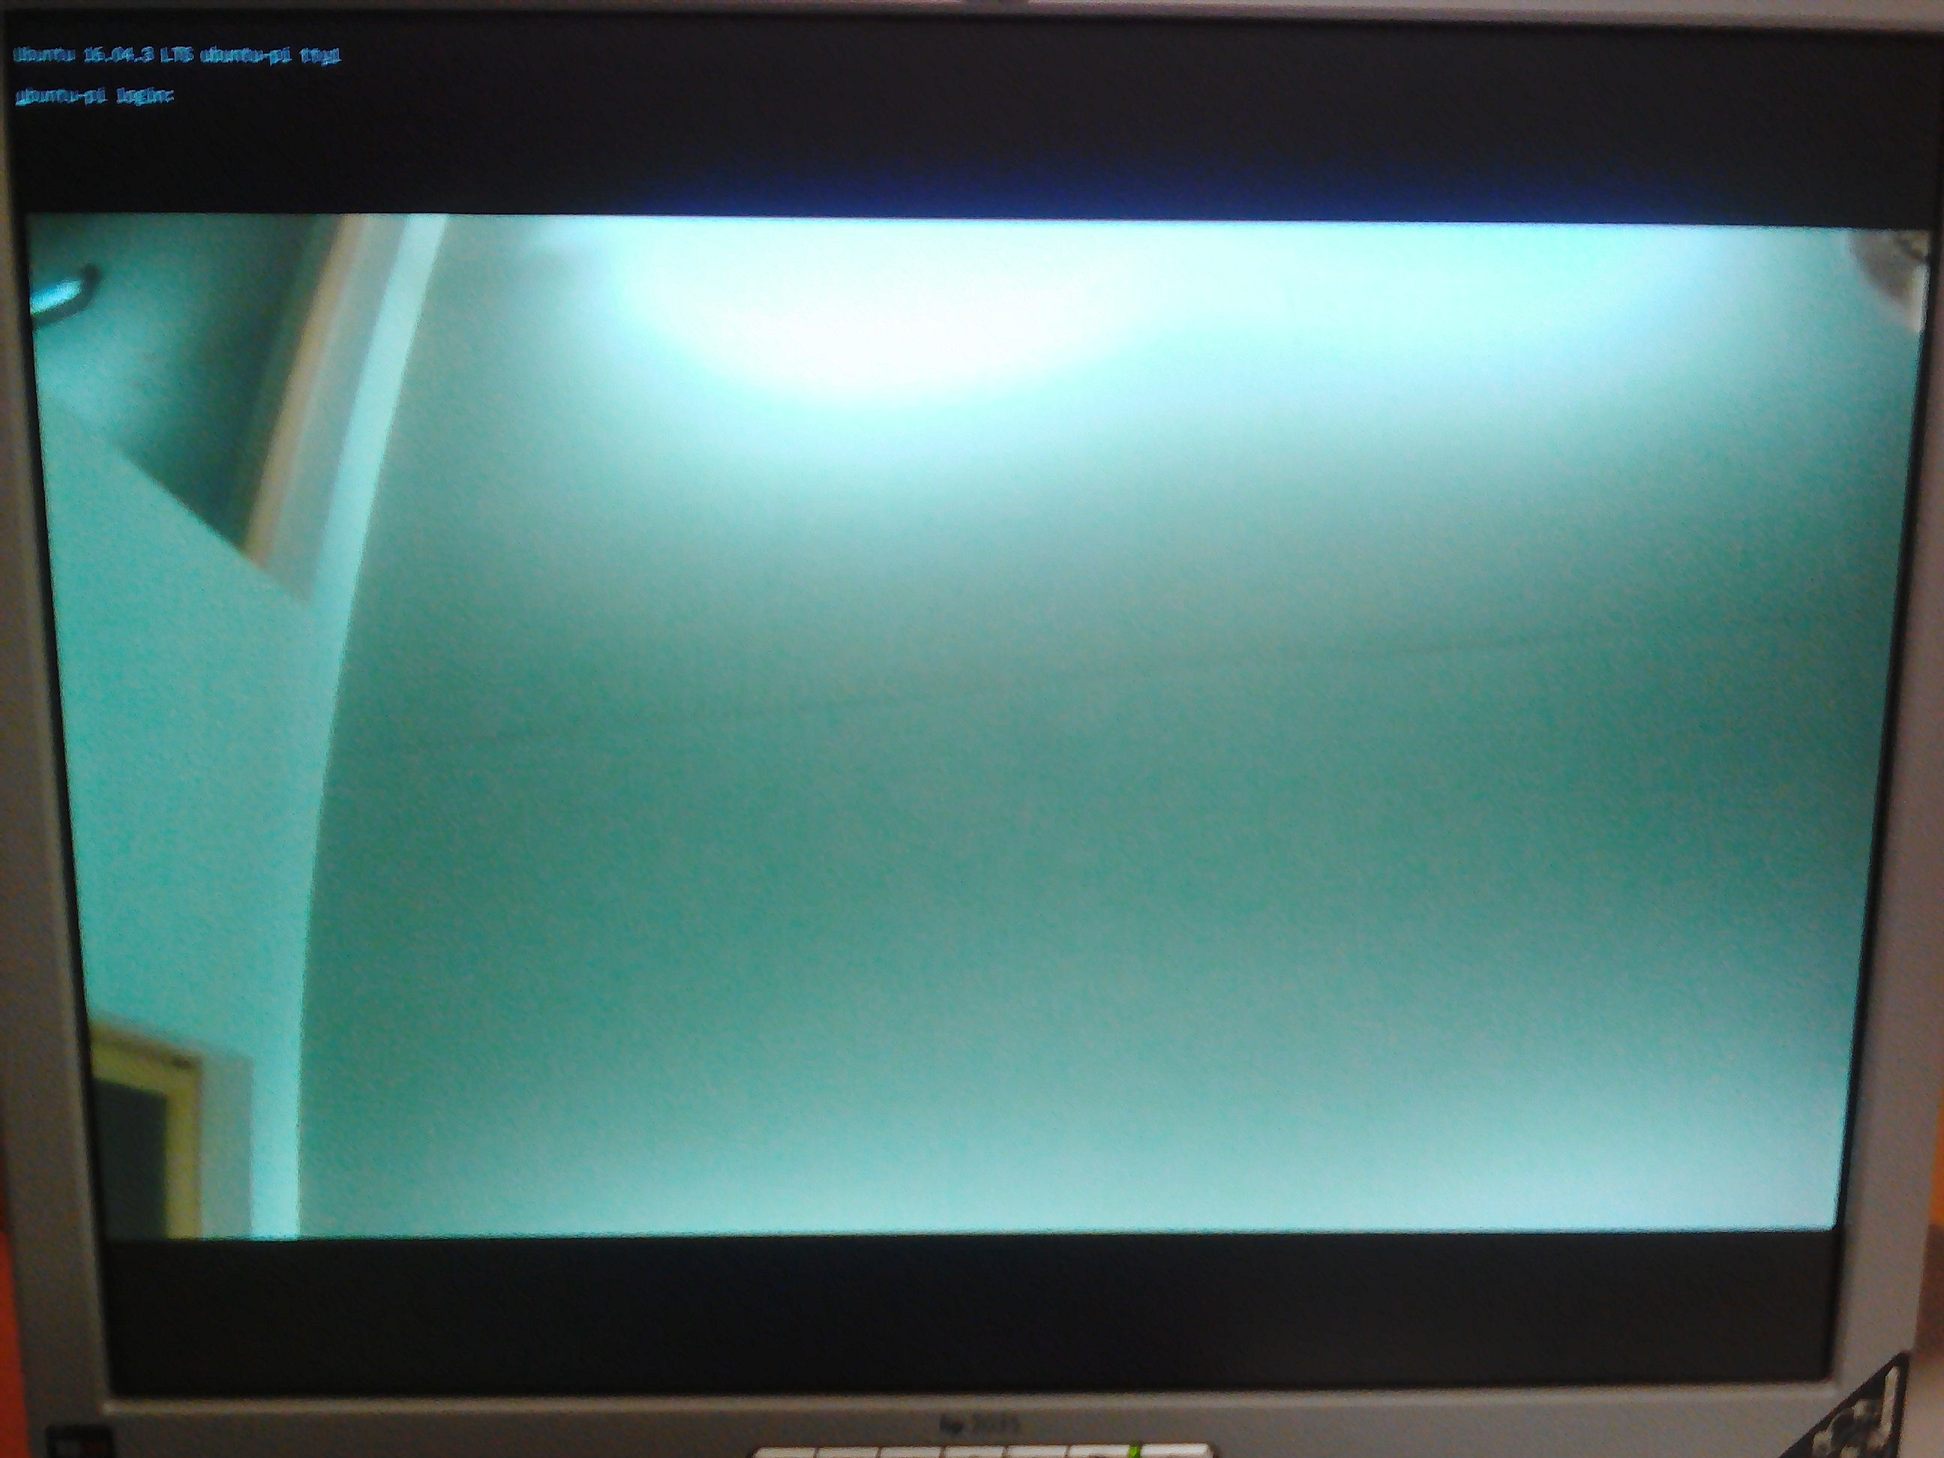
让我们尝试录制视频:
raspivid -o myvideo.h264
我在连接到Raspberry Pi的监视器上得到了图像。 通过ssh连接时,我的计算机上没有弹出窗口。
在Raspberry Pi上将OpenCV 3与鱼眼镜头配合使用
安装picamera [array]库:
pip install "picamera[array]"
为OpenCV安装必要的依赖项。 首先,更新apt软件包管理器并升级预安装的软件包:
sudo apt-get update sudo apt-get upgrade
安装一些库:
sudo apt-get install build-essential cmake pkg-config sudo apt-get install libjpeg8-dev libtiff5-dev libjasper-dev libpng12-dev sudo apt-get install libavcodec-dev libavformat-dev libswscale-dev libv4l-dev sudo apt-get install libxvidcore-dev libx264-dev sudo apt-get install libgtk-3-dev sudo apt-get install libatlas-base-dev gfortran sudo apt-get install python2.7-dev python3.5-dev
我们将从源代码安装OpenCV 3。
cd ~ wget -O opencv.zip https://github.com/Itseez/opencv/archive/3.1.0.zip unzip opencv.zip
我们还需要下载opencv_contrib存储库:
wget -O opencv_contrib.zip https://github.com/Itseez/opencv_contrib/archive/3.1.0.zip unzip opencv_contrib.zip
事实是,在带有功能描述符的OpenCV 3软件包(例如SIFT和SURF)中,这些软件包已移至单独的contrib存储库。 现在,要使用标签描述符,我们需要单独下载contrib存储库。
现在,我们终于可以安装OpenCV了。 我们可以执行cmake使用必要的参数来编译OpenCV:
cd ~/opencv-3.1.0/ mkdir build cd build cmake -D CMAKE_BUILD_TYPE=RELEASE \ -D CMAKE_INSTALL_PREFIX=/usr/local \ -D INSTALL_PYTHON_EXAMPLES=ON \ -D INSTALL_C_EXAMPLES=OFF \ -D OPENCV_EXTRA_MODULES_PATH=~/opencv_contrib-3.1.0/modules \ -D PYTHON_EXECUTABLE=~/.virtualenvs/cv/bin/python \ -D BUILD_EXAMPLES=ON ..
如果cmake成功且没有错误,请执行make:
make -j4
编译时,出现“分段错误”错误。 如果遇到相同的错误,请进行清除以删除编译结果,并使用一个内核进行make:
make clean make
我花了3个小时来编译。 最后,安装OpenCV 3:
sudo make install sudo ldconfig
ROS Kinetic有一个有趣的细微差别。 如果安装Rin Kinetic,则在运行命令源/opt/ros/kinetic/setup.bash时,ROS将Python库(/opt/ros/kinetic/lib/python2.7/dist-packages)的路径添加到系统路径。 从源代码的后续安装OpenCV期间,这会导致一些问题(有关更多信息,请参见)。 要解决此问题,请从.bashrc文件中删除“ source /opt/ros/kinetic/setup.bash”行。 不要忘记运行:
source ~/.bashrc
让我们验证一下OpenCV现在可以正确地从Python链接了。
为项目创建一个文件夹和一个简单的测试脚本:
mkdir PiCamera && cd PiCamera vim test_cam.py
将以下代码添加到文件中:
from picamera.array import PiRGBArray from picamera import PiCamera import time import cv2
运行脚本:
python test_cam.py
如果成功,我们将得到如下信息:
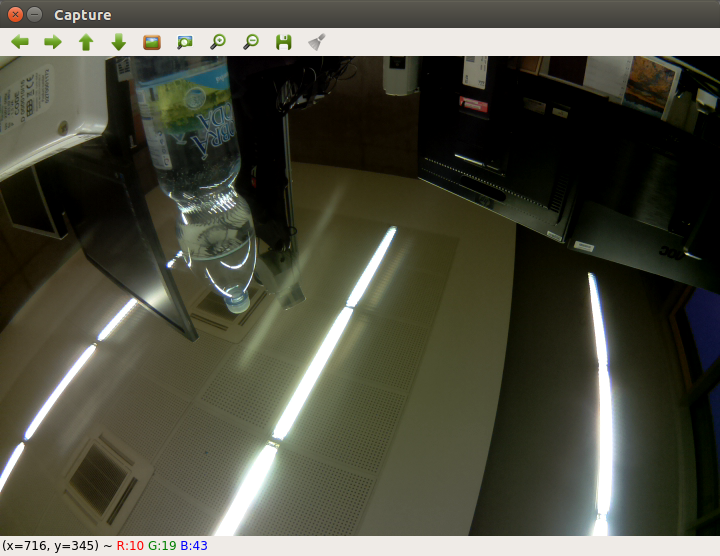
现在让我们尝试从摄像机录制视频。
vim test_videom.py
将以下代码添加到文件中:
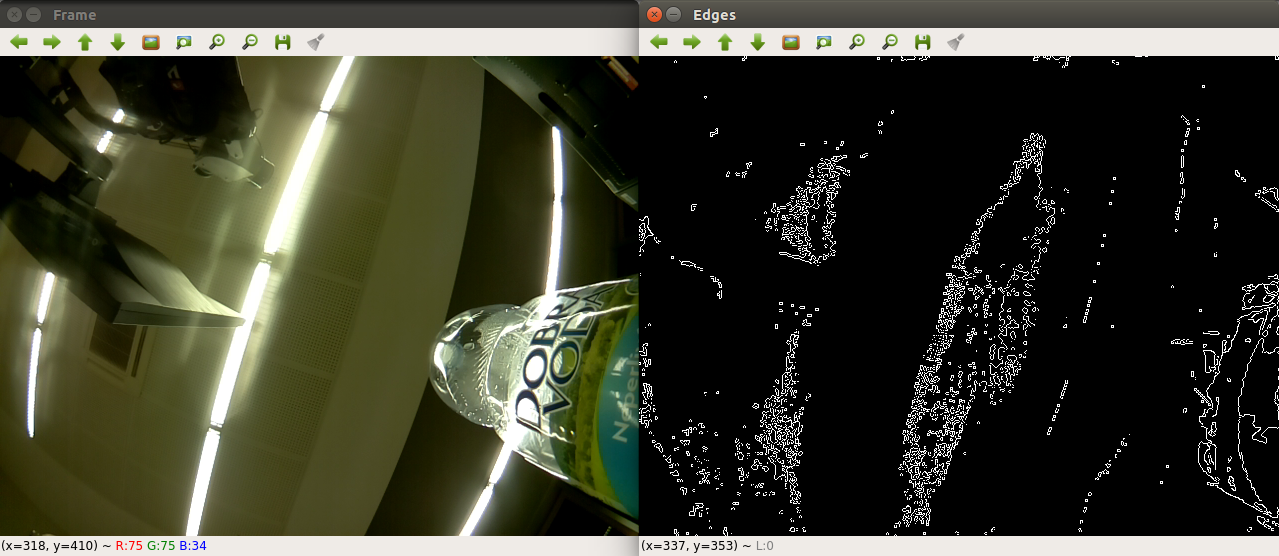
让我们尝试一些更有趣的事情,例如,添加边缘检测。 我在这里使用肯尼的探测器(
从此处获取的代码):
from picamera.array import PiRGBArray from picamera import PiCamera import time import cv2 import numpy as np
这是运行程序的结果:
向ROS添加Raspberry Pi Camera支持
现在让我们添加使用ROS的Raspberry Pi的鱼眼镜头的功能。 首先,为Raspberry Pi相机安装必要的V4L2驱动程序(您可以
在此处阅读更多内容)。 运行命令:
sudo rpi-update
并重新启动系统。 现在添加驱动程序:
sudo modprobe bcm2835-v4l2
验证设备/ dev / video0是否可用:
ll /dev/video0
输出将如下所示:
crw-rw----+ 1 root video 81, 0 Mar 17 15:47 /dev/video0
下载usb_cam软件包:
sudo apt-get install ros-kinetic-usb-cam source /opt/ros/kinetic/setup.bash
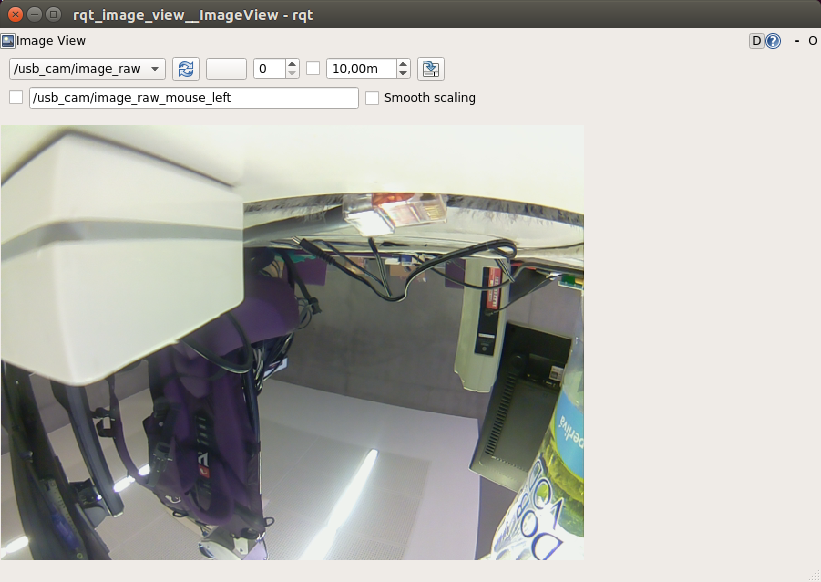
运行ROS master和rqt_image_view:
roscore roslaunch usb_cam usb_cam-test.launch rosrun rqt_image_view rqt_image_view
选择主题/ usb_cam / image_raw。 我们得到以下图片:
现在,鱼眼摄像机可以与ROS中的任何计算机视觉软件包一起使用。 下次我们将尝试检测对象。 在实验中祝大家好运,很快再见!