几年前,我创建了一个
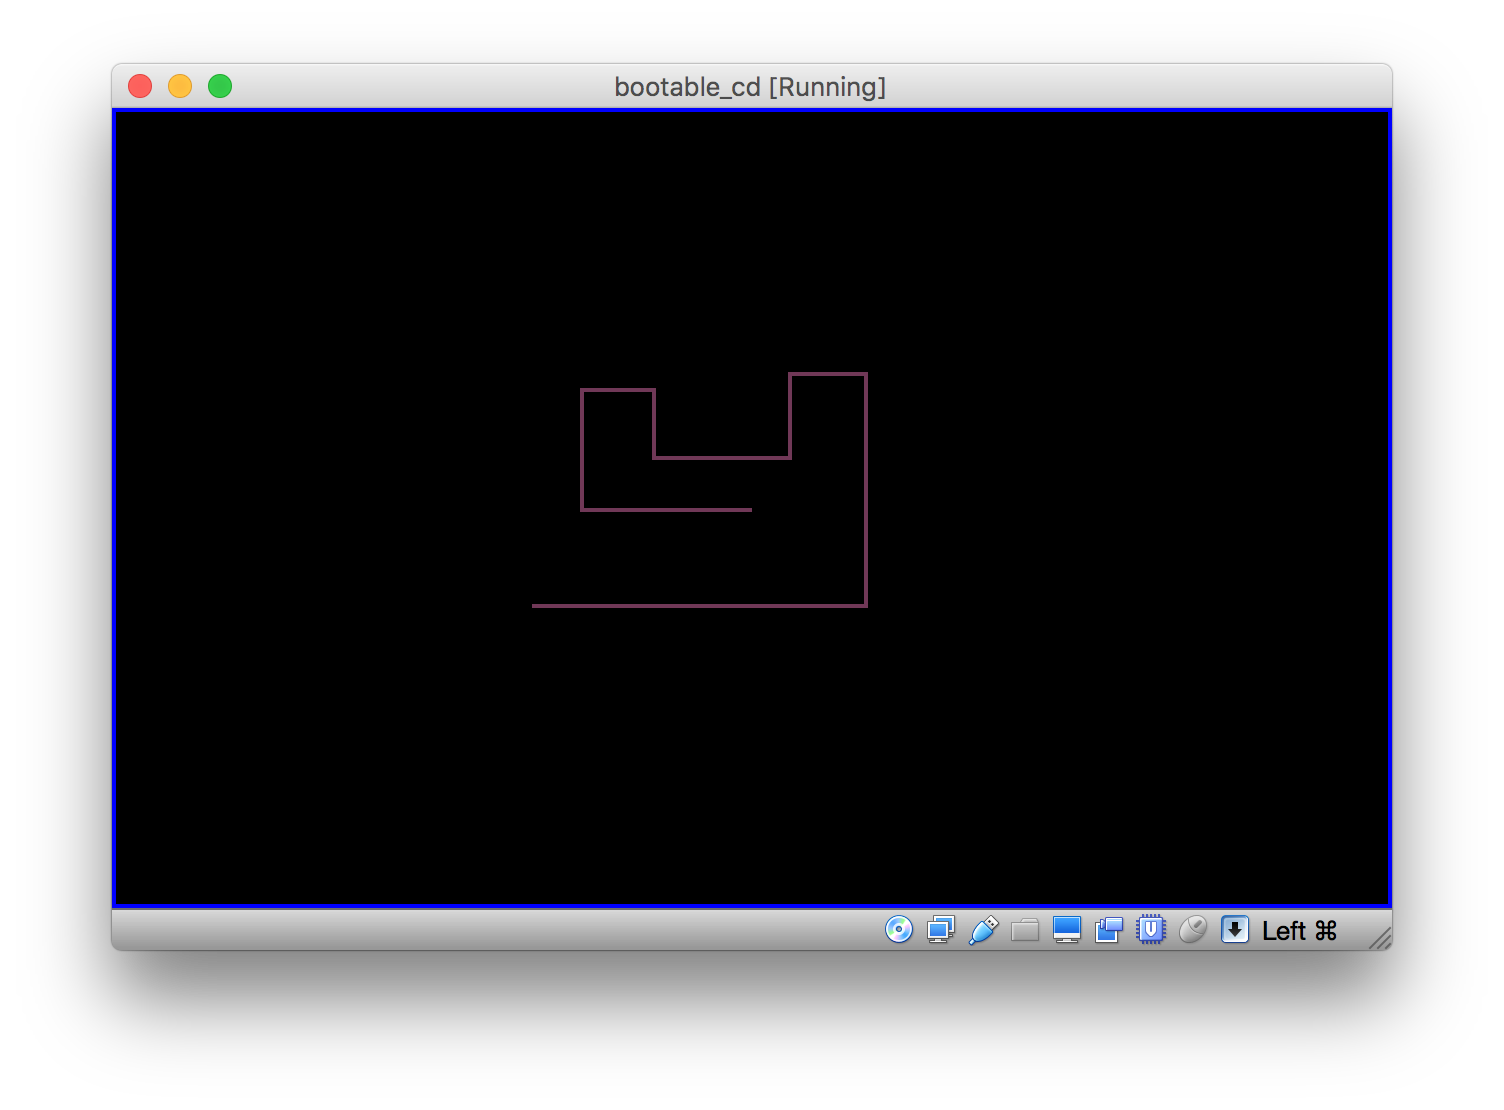
可启动的软盘和一个复古的游戏 ,并且都在一条推文中发布。 从那时起,Twitter的推文长度增加了一倍,因此我决定创建一个可启动CD。 它运行了一个稍微改进的tron版本。
perl -E 'say"A"x46422,"BDRDAwMQFFTCBUT1JJVE8gU1BFQ0lGSUNBVElPTg","A"x54,"Ew","A"x2634,"/0NEMDAxAQ","A"x2721,"BAAAAYQ","A"x30,"SVVVqogAAAAAAAEAF","A"x2676,"LMBaACgB76gfbgTAM0Qv8D4uYAI86qqgcc+AXP45GA8SHIRPFB3DTeYSEhyBSwCa8CwicMB3rSG/sHNFbRFJjAke9rrwQ","A"x2638'|base64 -D>cd.iso
鸣叫中的代码将创建可引导的CD-ROM映像:
cd.iso 。 您可以将代码上传到qemu或您喜欢的虚拟机-并使用箭头键进行播放。 您甚至可以将iso刻录到CD-R并引导到真实计算机上。
要手动创建CD映像,首先需要基本了解
ISO 9660 。 不幸的是,具有ISO标准的文档通常很昂贵。 但是,ISO 9660与
ECMA 119相同,因此可以免费阅读规格。
ISO 9660具有许多扩展,例如UDF,El Torito,RockRidge,Joliet等。对于启动映像,只有
El Torito对我们很重要。 在我看来,El Torito规范写得不好。 存在错误(例如,表7中的最后一行),很容易忘记这些值是十六进制的(未指定
0x前缀),数字没有直观排序等。 幸运的是,该文档很小。
要创建启动磁盘,我们首先要写入17个空扇区,然后写入一组卷描述符集。 每个扇区为2048字节。
注意事项 ISO-9660规范指出,卷描述符集从扇区16开始。El Torito规范要求在扇区17中启动引导记录。从技术上讲,您应该在扇区16中放置一个虚拟卷描述符,但是没有它,一切都可以正常工作。
我们编写第一个卷描述符:
0x00 // Type (0 = boot record) 'CD001' // Identifier 0x01 // Version 'EL TORITO SPECIFICATION' // Boot System Identifier 9 x 0x00 // Padding 32 x 0x00 // Unused 0x13 0x00 0x00 0x00 // Boot Catalog address (in absolute sectors) 1973 x 0x00 // Unused
以下扇区包含卷描述符集终止符:
0xff // Type (255 = terminator) 'CD001' // Identifier 0x01 // Version 2041 x 0x00 // Unused
卷描述符后跟引导目录。 El Torito支持不同的仿真模式。 CD-ROM可以模拟启动软盘,可启动的HDD等。 我没有安装仿真程序,也就是说,BIOS将加载一定数量的扇区-并使用我们的引导程序。
计算校验和,以便将记录中的所有16位值相加为0(mod 65536)。
引导目录中的第一个条目(验证条目):
0x01 // Header ID 0x00 // Platform ID (0 = Intel x86) 0x00 0x00 // Reserved 'a' // ID string 23 x 0x00 // Padding cksum cksum // Checksum (2 bytes) 0x55 0xaa // Key bytes
第二条记录(默认):
0x88 // Boot Indicator (0x88 = bootable) 0x00 // Boot Media Type (0 = no emulation) 0x00 0x00 // Load segment 0x00 // System Type 0x00 // Unused 0x01 0x00 // Number of sectors to load 0x14 0x00 0x00 0x00 // Virtual disk address (in absolute sectors) 20 x 0x00 // Unused
然后零到该扇区的末尾:
1984 x 0x00
下一个领域是我们的引导程序和复古游戏:
; to compile: ; nasm bootloader.asm -o bootloader.img [bits 16] ; Pragma, tells the assembler that we ; are in 16 bit mode (which is the state ; of x86 when booting from a floppy). [org 0x7C00] ; Pragma, tell the assembler where the ; code will be loaded. mov bl, 1 ; Starting direction for the worm. push 0xa000 ; Load address of VRAM into es. pop es restart_game: mov si, 320*100+160 ; worm's starting position, center of ; screen ; Set video mode. Mode 13h is VGA (1 byte per pixel with the actual ; color stored in a palette), 320x200 total size. mov ax, 0x0013 int 0x10 ; Draw borders. We assume the default palette will work for us. ; We also assume that starting at the bottom and drawing 2176 pixels ; wraps around and ends up drawing the top + bottom borders. mov di, 320*199 mov cx, 2176 rep draw_loop: stosb ; draw right border stosb ; draw left border add di, 318 jnc draw_loop ; notice the jump in the middle of the ; rep stosb instruction. game_loop: ; We read the keyboard input from port 0x60. This also reads bytes from ; the mouse, so we need to only handle [up (0x48), left (0x4b), ; right (0x4d), down (0x50)] in al, 0x60 cmp al, 0x48 jb kb_handle_end cmp al, 0x50 ja kb_handle_end ; At the end bx contains offset displacement (+1, -1, +320, -320) ; based on pressed/released keypad key. I bet there are a few bytes ; to shave around here given the bounds check above. aaa cbw dec ax dec ax jc kb_handle sub al, 2 imul ax, ax, byte -0x50 kb_handle: mov bx, ax kb_handle_end: add si, bx ; The original code used set pallete command (10h/0bh) to wait for ; the vertical retrace. Today's computers are however too fast, so ; we use int 15h 86h instead. This also shaves a few bytes. ; Note: you'll have to tweak cx+dx if you are running this on a virtual ; machine vs real hardware. Casual testing seems to show that virtual machines ; wait ~3-4x longer than physical hardware. mov ah, 0x86 inc cl int 0x15 ; Draw worm and check for collision with parity ; (even parity=collision). xor [es:si], ah ; Go back to the main game loop. jpo game_loop ; We hit a wall or the worm. Restart the game. jmp restart_game TIMES 2048 - ($ - $$) db 0 ; Fill the rest of the sector with 0
然后,我编写了一个脚本来编译引导程序,构建映像并生成推文。 最后,我刻录了CD,并检查了
一切都可以在真实的硬件上正常工作 。