尽管我的上一本出版物受到许多人的关注,但它的商标仍为“翻译”。 毫无疑问,我所有提到的建议都是窃。 毕竟,关于代码维护尚无共识。因此,这次,我决定向您讲述
我如何执行订单开发在线商店页面的故事。
也许您说这是一个很老套的话题。 但是,并非一切都那么简单。 如果客户自己通常在工作中遇到困难,那么我决定为自己找到障碍。 事实是,我很久以前就从简单站点,页面和各种CMS的开发转向了“单页面应用程序”。 最终确定页面上许多元素的建议是最终完成的网站的一部分,并且在开发方法中存在许多禁忌,这并没有激发我太多的兴趣。 我注意到任务本身并不困难。 最重要的是要以适当的形式显示商品并带有其自身的内部逻辑。 同样,一个重要条件是:客户可以轻松地编辑内容。 由于该网站本身并非设计为SPA,因此我无法通过自己喜欢的Angular来做到这一点……还是没有? 是的,我无法将框架自己连接到该站点,但是可以制作一个捆绑文件,其中包含完成任务所需的所有条件。
我必须马上说,当然有很多方法更容易,更正确,但是在这种情况下,我不会从事这项工作。 我受到兴趣的驱使,从理论上讲,我知道它会起作用。 我读到了某个CodeMix,这是Angular 6及更高版本附带的组件。 满足角度元素。 简而言之,它们将组件转换为HTML元素(+ JavaScript),使我们能够在其他应用程序,不同的fraemworks(相同的React)中甚至在简单的HTML + JavaScript页面中使用我们的组件!
我不会描述该作品的自定义版本,并且作为示例,我将提供一个简单的面板组件,该组件将在其下方显示标题和内容。 我们还将在标题内放置一个复选框,以控制消息内容的显示。 然后,我们将继续在简单的HTML页面中使用此面板。 从而解决问题。
根据处方,我们需要:
- Node.js,
- 节点程序包管理器(npm),
- Angular CLI(> 6.0.0),
- 混合码
在Eclipse中创建一个新项目
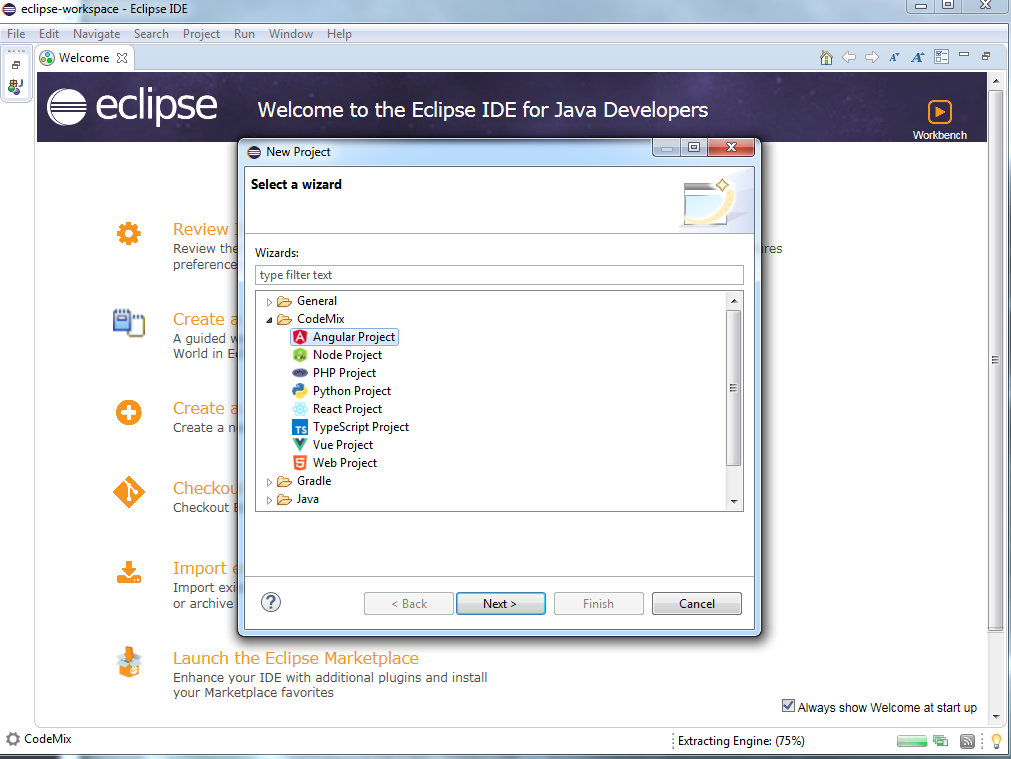 文件>创建>项目> CodeMix> Angular项目
在项目的终端中(
Ctrl + Shift + P )

输入:
终端:创建新的集成终端终端将在项目文件夹中自动打开。 在其中输入
npm install ,
ng serve 。 之后,静静地转到页面:localhost:4200。 接下来,我们需要使用Angular元素和poly-fills模块来实现浏览器兼容性,因为Microsoft浏览器未正确支持它们。
npm install @angular/elements @webcomponents/custom-elements
创建一个组件
使用Angular CLI的简单功能,我们编写了以下内容:
ng gc codemix-example
我们的组件已准备就绪,有待整理。
HTML :
<div class="CodemixExampleComponentClass"> <div class="head"> <span>{{ title }}</span> <input type="checkbox" [checked]="isShow" (change)="changeShow()" /> </div> <div class="body" *ngIf="isShow">{{ content }}</div> </div>
打字稿 import { Component, Input, ViewEncapsulation } from '@angular/core'; @Component({ selector: 'codemix-example', templateUrl: './codemix-example.component.html', styleUrls: ['./codemix-example.component.css'], encapsulation: ViewEncapsulation.Native }) export class CodemixExampleComponent { public isShow: boolean; constructor() { } @Input() public content; @Input() public title; public changeShow(): void { this.isShow = !this.isShow; } }
我将不介绍CSS详细信息,在本例中,我只是将主要块设置为其背景色。
我们检查组件是否正常工作并继续。
//app.module.ts。
import { BrowserModule } from '@angular/platform-browser'; import { NgModule, Injector } from '@angular/core'; import { createCustomElement } from '@angular/elements'; import { CodemixExampleComponent } from './codemix-example/codemix-example.component'; import { AppComponent } from './app.component'; @NgModule({ declarations: [ AppComponent, CodemixExampleComponent ], entryComponents: [CodemixExampleComponent], imports: [ BrowserModule ], providers: [] }) export class AppModule { constructor(private injector: Injector){ } ngDoBootstrap(){ const element = createCustomElement( CodemixExampleComponent, { injector: this.injector } ); customElements.define('codemix-example', element) } }
在上面的代码中,我们阻止了Angular自动加载应用程序。 我们通过删除装饰器参数对象中的bootstrap属性并覆盖AppModule类中的ngDoBootstrap方法来实现此目的。 我们还将CodemixExampleComponent组件添加到entryComponents数组中,以指示Angular创建该组件,即使它不是模板的一部分。 然后,在ngDoBootstrap中,使用Angular Elements模块中的createCustomElement函数来解析CodemixExampleComponent组件。 现在,我们可以在项目的HTML文件中使用该元素。
例如,可以按以下方式重写index.html文件:
<!doctype html> ... <body> <div style="width: 50vw; margin: auto;"> <codemix-example title="Title text" content="Content text Content text Content text Content text Content text Content text Content text Content text Content text Content text"> </codemix-example> </div> </body> ...
获取捆绑文件
现在我们可以在项目的HTML文档中使用该元素了,下一步是创建一个捆绑文件以用作页面依赖项。
为此,我们需要concat模块:
npm install concat
仍然需要在项目文件夹的根目录中创建一个程序集脚本。
// build.js:
const concat = require('concat'); const files = [ 'node_modules/@webcomponents/custom-elements/src/native-shim.js', './dist/angulartest/runtime.js', './dist/angulartest/polyfills.js', './dist/angulartest/main.js' ]; const outputFile = './dist/bundle.js'; concat(files, outputFile);
最后一步,运行命令,或将其添加到package.json中的scripts对象:
ng build --prod --output-hashing = none && node build-script.js
结果,我们得到了梦bundle以求的bundle.js。 现在可以在任何地方使用的文件。 将此文件复制到另一个位置,并在同一文件夹中创建一个简单的HTML文件。
如果有人对输出感兴趣,则会得到以下信息:

这是最简单的index.html
<!doctype html> <html lang="en"> <head> <meta charset="utf-8"> <title>Angulartest</title> </head> <body> <div style="width: 50vw; margin: auto;"> <codemix-example title="Title text" content="Content text Content text Content text Content text Content text Content text Content text Content text Content text Content text"> </codemix-example> </div> <script type="text/javascript" src="bundle.js"></script> </body> </html>
结论
如您所见,我们只是在一个简单的HTML文件中使用了Angular组件。 是的,即使在这样的任务中,Angular能够声明自己也很棒。 我们可以使用在Angular,React,Vue等平台上开发的组件,好吗? 但是,正如我一开始所说的那样,这不是我解决的问题的唯一且当然不是最佳选择。 我这样做只是因为我对此感兴趣。 重要的是要知道大多数浏览器都不完全支持此方法。 这也迫使我们使用一个很大的文件来处理一个元素。 例如,我的原来是234KB。