Web组件是定义用于组织组件体系结构的软件接口的一组标准。 所有这些都在现代版本的浏览器中实现,即 它们不需要连接库或代码编译器,但是,如果需要兼容性,例如与Internet Explorer 11兼容,则可能仍需要使用库和编译器。
本文的目标读者是具有一个或另一个前端框架经验的培训和开发人员的初始水平,但也许由于一些技巧,对于有经验的专家来说,它会很有趣。
下面引用的所有实验均已在Chrome和Firefox中进行了测试,甚至可能不是最新版本。
因此,让我们开始吧。
首先,为项目创建一个目录并转到该目录。
mkdir mywebcomp cd mywebcomp
运行:
npm init
默认情况下,通过回答所有问题来访问此目录。
使用目录中最简单的内容创建一个
index.html文件。
<html lang="en"> <body> </body> </html>
为元素添加标签,名称必须包含连字符,这是CusomElements子系统试图将该元素定义为在标准元素上构建的信号。
<html lang="en"> <body> <my-webcomp></my-webcomp> </body> </html>
将处理程序类添加到
脚本标签。
<script type="module"> class MyWebComp extends HTMLElement { connectedCallback() { this.insertAdjacentHTML('beforeEnd', `<div>Hello</div>`) } } customElements.define('my-webcomp', MyWebComp); </script>
在模块化
脚本标签中,我们定义了一个新类,该类使用
customElements.define()方法在
my-webcomp标签后面定义了
该类 。 通过将代码添加到
connectedCallback()方法,我们在将组件实现添加到树时提供了其调用。 结果已经可以在浏览器中查看:
但是,如果方便于小块,直接在代码中放置html布局通常是不正确的,当块长到合适的大小时尤其如此。 例如,在包含20个元素的表单上,要击败子组件也可能并不总是很方便。 因此,对于初学者来说,我们将在模板中布置布局,该布局将位于同一html中,尽管在必要时不会阻止我们从单独的文件加载它。
<html lang="en"> <body> <template id="myWebCompTemplate"> <div>Hello</div> </template> <my-webcomp></my-webcomp> <script type="module"> class MyWebComp extends HTMLElement { connectedCallback() { let tplEl = document.querySelector('#myWebCompTemplate'); let html = document.importNode(tplEl.content, true); this.appendChild(html); } } customElements.define('my-webcomp', MyWebComp); </script> </body> </html>
在组件代码中,通过用id接收模板元素,我们用html替换了字符串的插入。 导入即 创建此元素的副本并链接到当前元素的内容。
id以camelCase表示法命名,因为 使用连字符或其他特殊字符时,元素的所有标识符都将放入全局名称空间。 角色对它们的访问可能不太优雅。 即 我们可以改为:
let tplEl = document.querySelector('#myWebCompTemplate'); let html = document.importNode(tplEl.content, true);
写成一行:
let html = document.importNode(myWebCompTemplate.content, true);
该代码将以相同的方式工作,但被认为不是很安全。 同样,如果我们为元素分配一个id,则可以通过调用方法并获取属性值,从全局命名空间中作为实例从上下文中的任何位置访问它。
例如,像这样:
<my-webcomp id="myWebComp"></my-webcomp> <script type="module"> class MyWebComp extends HTMLElement { connectedCallback() { let html = document.importNode(myWebCompTemplate.content, true); this.appendChild(html); } } customElements.define('my-webcomp', MyWebComp); </script> <script type="module"> myWebComp.showMessage(); </script>
在这种情况下,警报将在页面加载后立即显示。
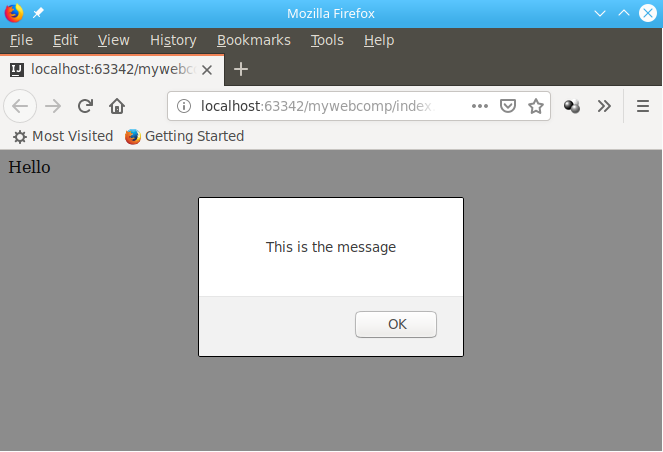
现在,我们将为组件悬挂一个鼠标单击处理程序,该处理程序将显示警报消息。
<my-webcomp id="myWebComp" onclick="this.showMessage(event)"></my-webcomp> <script type="module"> class MyWebComp extends HTMLElement { connectedCallback() { let html = document.importNode(myWebCompTemplate.content, true); this.appendChild(html); } showMessage(event) { alert("This is the message"); console.log(event); } } customElements.define('my-webcomp', MyWebComp); </script>
现在,当您单击一条消息时,我们将对用户操作做出反应。
 showMessage()
方法的参数还声明一个
事件对象,该对象存储事件数据,例如单击的坐标或到元素本身的链接。
通常,每个特定元素都必须以独特的方式进行配置,这可以使用属性来完成。
添加该元素的第二个实例,并为每个元素定义不同的
greet-name属性,这些属性的值将在单击该元素时显示。
<my-webcomp id="myWebComp" greet-name="John" onclick="this.showMessage(event)"></my-webcomp> <my-webcomp id="myWebComp2" greet-name="Josh" onclick="this.showMessage(event)"></my-webcomp> <script type="module"> class MyWebComp extends HTMLElement { connectedCallback() { let html = document.importNode(myWebCompTemplate.content, true); this.appendChild(html); } showMessage(event) { alert("This is the message " + this.getAttribute('greet-name')); console.log(event); } } customElements.define('my-webcomp', MyWebComp); </script>
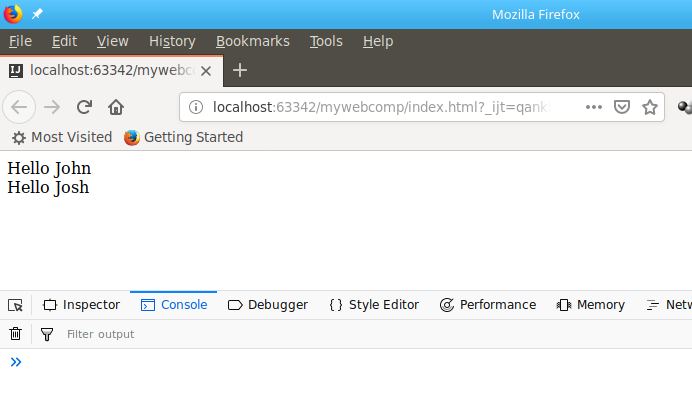
现在,当您单击第一个时,将显示“这是给约翰的消息”,而在第二个上,则是“这是给乔什的消息”。
可能发生的情况是,该属性不需要在事件处理中使用,而应直接呈现到模板中,为此,我们将在呈现模板对象的副本后立即向目标元素添加id并替换api中的值。
<template id="myWebCompTemplate"> <div id="helloLabel">Hello</div> </template> <my-webcomp id="myWebComp" greet-name="John" onclick="this.showMessage(event)"></my-webcomp> <my-webcomp id="myWebComp2" greet-name="Josh" onclick="this.showMessage(event)"></my-webcomp> <script type="module"> class MyWebComp extends HTMLElement { connectedCallback() { let html = document.importNode(myWebCompTemplate.content, true); this.appendChild(html); this.querySelector('#helloLabel').textContent += ' ' + this.getAttribute('greet-name'); } showMessage(event) { alert("This is the message " + this.getAttribute('greet-name')); console.log(event); } } customElements.define('my-webcomp', MyWebComp); </script>
原来是这样的:
除了
.textContent之外,它还可以是
.innerHTML,或者您可以从一开始就使用选择器对对象调用相同的
.insertAdjacentHTML()方法。
长期以来,使用ID被认为是错误的形式,因为在大量代码上它们可能被复制,从而导致冲突。 但是,随着影子树技术的出现,您可以使用标识符,样式和其他资源隔离元素的内部内容,而无需担心。 对于Web组件,启用了阴影树,如下所示:
this.attachShadow({mode: 'open'});
现在的事实是,对此的所有DOM调用都必须替换为
this.shadowRoot,因为它们的数量并不多。
<script type="module"> class MyWebComp extends HTMLElement { connectedCallback() { let html = document.importNode(myWebCompTemplate.content, true); this.attachShadow({mode: 'open'}); this.shadowRoot.appendChild(html); this.shadowRoot.querySelector('#helloLabel').textContent += ' ' + this.getAttribute('greet-name'); } showMessage(event) { alert("This is the message " + this.getAttribute('greet-name')); console.log(event); } } customElements.define('my-webcomp', MyWebComp); </script>
从视觉上看,此代码的工作不会以任何方式再次更改,但是现在全局名称空间中将没有helloLabel,并且页面已经具有2个具有此标识符的元素。 您可以访问它们,例如,如下所示:
myWebComp.shadowRoot.getElementById('helloLabel');
然后如果不通过在
.attachShadow()方法中传递相应的属性来关闭树。
我们有很多代码,直接将其放置在html文件中也不是很正确。 因此,我们将创建
my-webcomp.js文件,并使用export语句将其类转移到该
文件 ,并在script标签中添加此类的导入以获取此信息:
<script type="module"> import { MyWebComp } from "./my-webcomp.js"; customElements.define('my-webcomp', MyWebComp); myWebComp.shadowRoot.getElementById('helloLabel'); </script>
这不会影响性能,但是现在我们所有的业务逻辑在.js中都是分开的,配置是在html属性中执行的,并且模块化和组件浏览器系统负责模块化的异步初始化。
但是,从现在开始,将
index.html作为本地进行开发将失败,因为 浏览器将阻止从文件系统下载脚本。 如果您有nodejs,则可以放置最简单的Web服务器:
npm i http-server -g
并在项目目录中使用http-server命令运行它,在启动时它将告诉您可以从中打开页面的主机和端口
http://127.0.0.1:8080
现在它将是带有我们元素的调试页面的地址。
编写测试对开发也很重要;它们有助于使代码在组件开发期间保持可操作性。 要测试Web组件,可以从浏览器以启动模式使用mocha。
添加软件包。
npm i mocha chai wct-mocha --save-dev
为此,创建
测试目录并将
以下all.html文件添加到其中:
<!doctype html> <html> <head> <meta charset="utf-8"> <script src="../node_modules/mocha/mocha.js"></script> <script src="../node_modules/chai/chai.js"></script> <script src="../node_modules/wct-mocha/wct-mocha.js"></script> </head> <body> <script> WCT.loadSuites([ 'my-webcomp.tests.html', ]); </script> </body> </html>
复制我们的
index.html以
测试/为其命名为
my-webcomp.tests.html,并添加与
all.html中相同的
标题内容。
但是,我们现在需要将普通的初始化和操作替换为在测试运行过程中执行的初始化和操作:
<script type="module"> import { MyWebComp } from "../my-webcomp.js"; customElements.define('my-webcomp', MyWebComp); suite('MyWebComp', () => { test('is MyWebComp', () => { const element = document.getElementById('myWebComp'); chai.assert.instanceOf(element, MyWebComp); }); }); </script>
现在当进入
http://127.0.0.1:8080/test/all.html
将显示测试报告。

但是您可能需要自动运行测试,并且需要在不同的浏览器中安装特殊的实用程序:
sudo npm install --global web-component-tester --unsafe-perm
并像这样运行:
wct --npm
可以
将这一行添加到
package.json文件的
测试部分,并以以下方式运行:
npm test

建议将每个重要类方法作为单独测试的一部分进行测试。 如果有必要对每个对象进行通用初始化,则应在
suiteSetup()方法中进行定义:
suiteSetup(() => { });
套房内。
这可能第一次就足够了,我们得到了一个最小的项目,如果他解决了特定任务,他将不会为此感到羞耻。
npm publish
或至少
git push
关于该主题的书籍还不多,但是根据Web组件,CustomElements,ShadowDOM,本机模板标记和自定义事件,可以轻松找到所有详尽的文档。
您可以使用存储库验证代码:
https :
//bitbucket.org/techminded/mywebcomp在
此处可以找到表明如何通过使用事件在组件之间进行交互的主题的延续
。