
暹罗神经网络是最简单,最受欢迎的单一学习算法之一。 对于每个班级采取的方法只有一个案例研究。 因此,暹罗网络通常用于每个类别中数据单元不多的应用中。
假设我们需要为拥有约500名员工的组织建立人脸识别模型。 如果您基于卷积神经网络(CNN)从头开始建立这样的模型,那么为了训练模型并实现良好的识别精度,我们将需要这500个人中的每个人的许多图像。 但是很明显,我们无法编译这样的数据集,因此,如果我们没有足够的数据,则不应基于CNN或任何其他
深度学习算法来建立模型。 在这种情况下,您可以使用复杂的一次性学习算法,例如暹罗网络,该算法可以在较少的数据上进行训练。
实际上,暹罗网络由两个对称神经网络组成,它们具有相同的权重和体系结构,最后它们组合并使用能量函数-E。
让我们看一下暹罗网络,基于它创建一个人脸识别模型。 我们将教她确定两个面孔何时相同,何时不相同。 对于初学者,我们将使用AT&T面孔数据库数据集,该数据集可从
剑桥大学计算机实验室网站下载。
下载,解压并查看从s1到s40的文件夹:
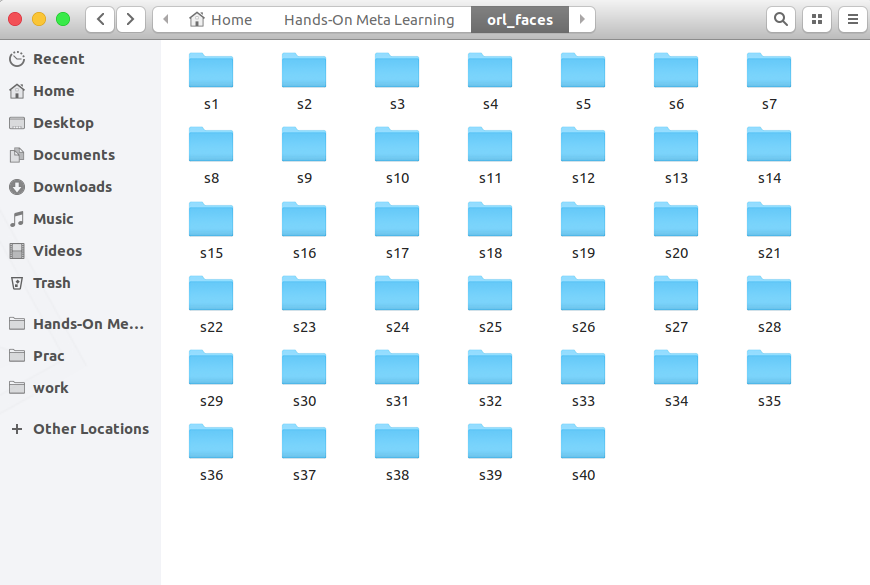
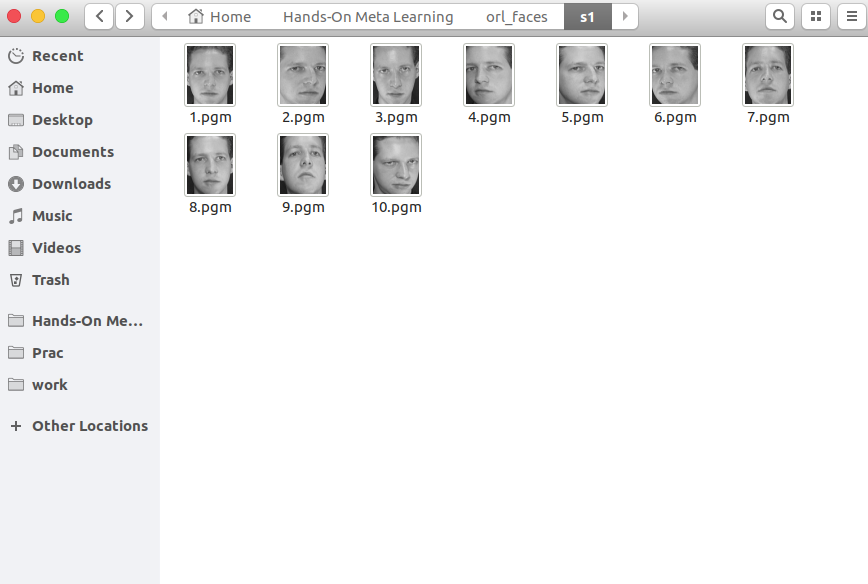
每个文件夹包含从不同角度拍摄的10张单人照片。 这是s1文件夹的内容:
这是s13文件夹中的内容:

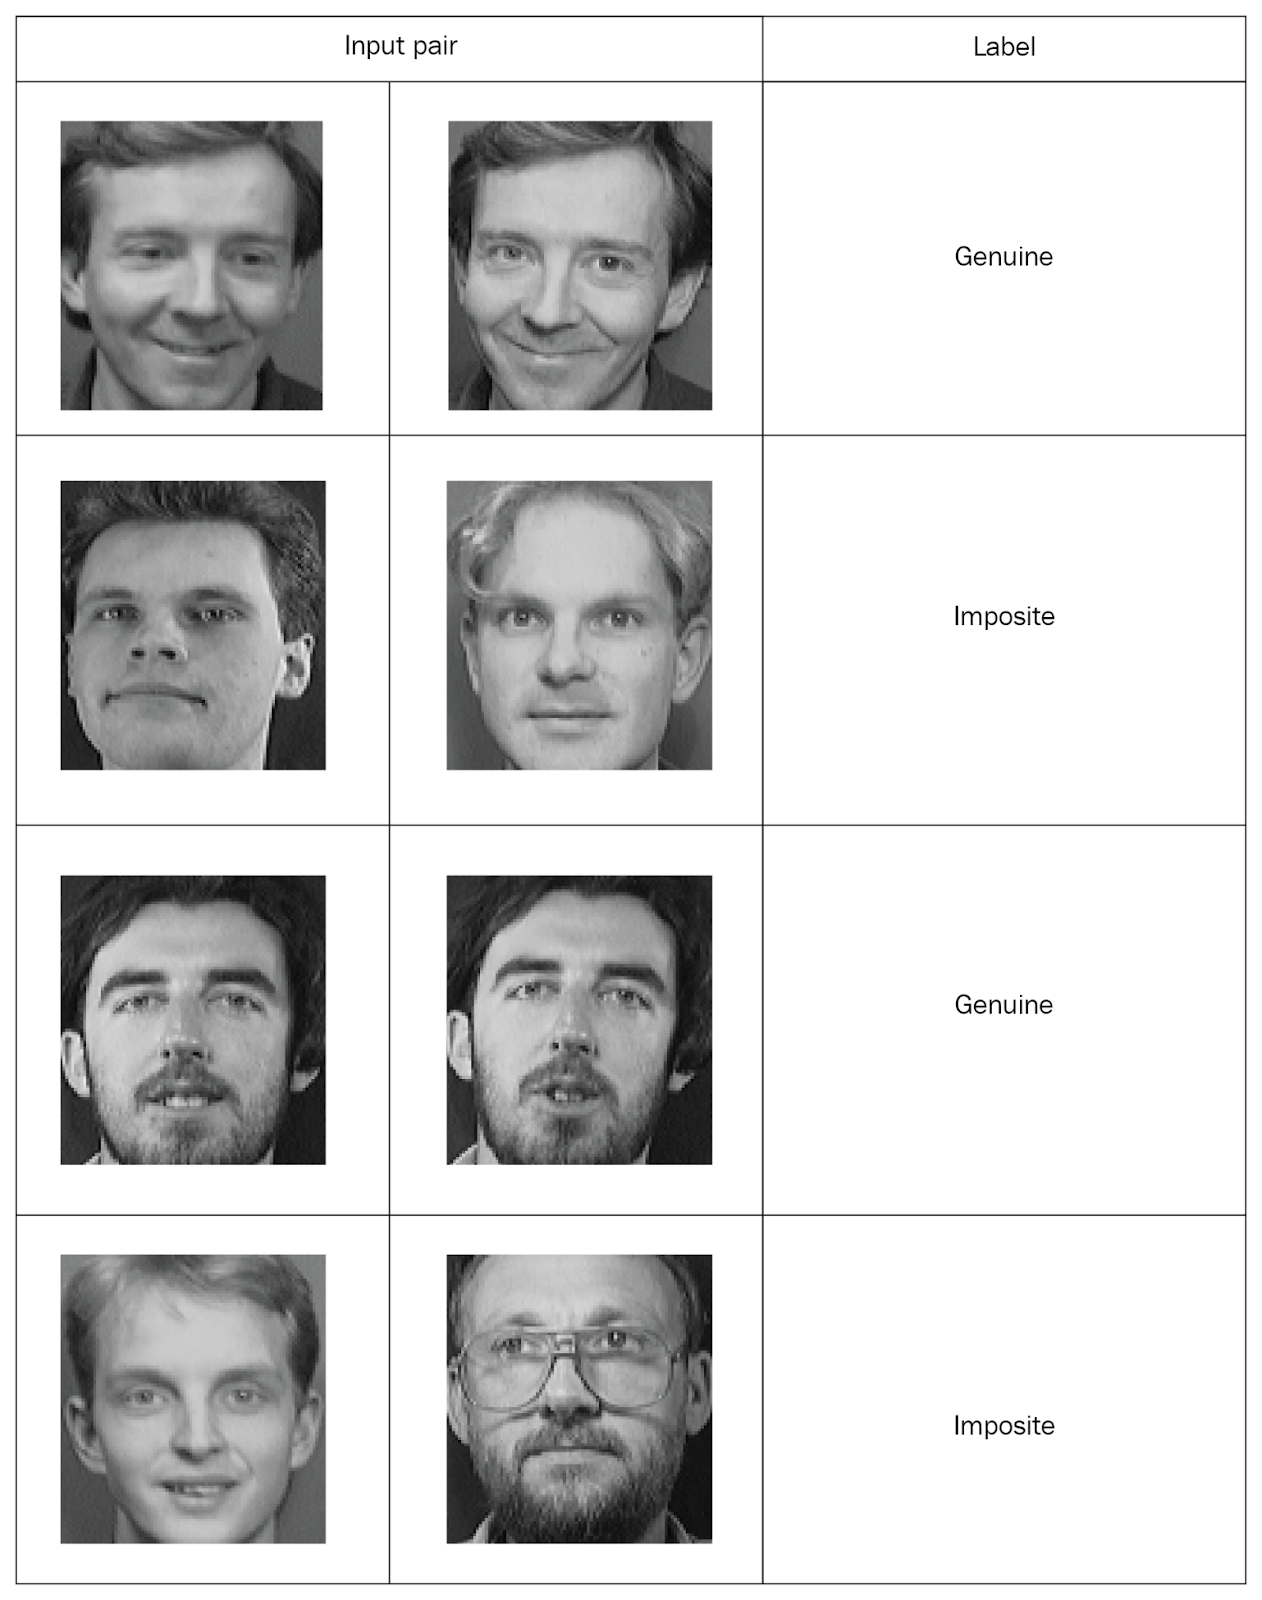
暹罗网络需要输入带有标记的配对值,因此让我们创建这样的集合。 从同一文件夹中拍摄两张随机照片,并将它们标记为“正版”对。 然后,我们从不同的文件夹中拍摄了两张照片,并将它们标记为“假”对(对):
将所有照片按标记对分发后,我们将研究网络。 我们将从每对中将一张照片传输到网络A,将第二张照片传输到网络B。这两个网络仅提取属性矢量。 为此,我们使用两个卷积层并激活整流线性单元(ReLU)。 研究了这些属性后,我们将两个网络生成的向量转移到一个估计相似度的能量函数中。 我们使用欧几里得距离作为函数。
现在,请更详细地考虑所有这些步骤。
首先,导入必要的库:
import re import numpy as np from PIL import Image from sklearn.model_selection import train_test_split from keras import backend as K from keras.layers import Activation from keras.layers import Input, Lambda, Dense, Dropout, Convolution2D, MaxPooling2D, Flatten from keras.models import Sequential, Model from keras.optimizers import RMSprop
现在我们定义一个读取输入图像的函数。
read_image函数拍摄一张图片并返回一个NumPy数组:
def read_image(filename, byteorder='>'):
例如,打开这张照片:
Image.open("data/orl_faces/s1/1.pgm")

我们将其传递给
read_image函数,并获得一个NumPy数组:
img = read_image('data/orl_faces/s1/1.pgm') img.shape (112, 92)
现在,我们定义将生成数据的
get_data函数。 让我提醒您,暹罗网络需要提交带有二进制标记的数据对(正版和非正版)。
首先,从一个目录读取图像(
img1 ,
img2 ),将它们保存在
x_genuine_pair,数组中
x_genuine_pair,将
y_genuine设置为
1 。 然后,我们从不同的目录中读取图像(
img1 ,
img2 ),将它们保存在
x_imposite,对中
x_imposite,并将
y_imposite设置为
0 。
在
X串联
x_genuine_pair和
x_imposite ,在
Y串联
x_genuine_pair和
x_imposite :
size = 2 total_sample_size = 10000 def get_data(size, total_sample_size):
现在,我们将生成数据并检查其大小。 我们有20,000张照片,其中收集了10,000张真实和10,000张假对:
X, Y = get_data(size, total_sample_size) X.shape (20000, 2, 1, 56, 46) Y.shape (20000, 1)
我们将共享全部信息:75%的人将接受培训,而25%的人将接受测试:
x_train, x_test, y_train, y_test = train_test_split(X, Y, test_size=.25)现在创建一个暹罗网络。 首先,我们定义核心网络-这将是一个卷积神经网络以提取属性。 使用ReLU激活创建两个卷积层,并在平坦层之后创建具有最大池化的层:
def build_base_network(input_shape): seq = Sequential() nb_filter = [6, 12] kernel_size = 3
然后,我们将传输一对核心网络的图像,这些图像将返回矢量表示形式,即属性矢量:
input_dim = x_train.shape[2:] img_a = Input(shape=input_dim) img_b = Input(shape=input_dim) base_network = build_base_network(input_dim) feat_vecs_a = base_network(img_a) feat_vecs_b = base_network(img_b)
feat_vecs_a和
feat_vecs_b是一对图像的属性向量。 让我们传递它们的能量函数来计算它们之间的距离。 作为能量的函数,我们使用欧几里得距离:
def euclidean_distance(vects): x, y = vects return K.sqrt(K.sum(K.square(x - y), axis=1, keepdims=True)) def eucl_dist_output_shape(shapes): shape1, shape2 = shapes return (shape1[0], 1) distance = Lambda(euclidean_distance, output_shape=eucl_dist_output_shape)([feat_vecs_a, feat_vecs_b])
我们将纪元数设置为13,应用RMS属性进行优化并声明模型:
epochs = 13 rms = RMSprop() model = Model(input=[input_a, input_b], output=distance)
现在我们定义损失函数
contrastive_loss函数并编译模型:
def contrastive_loss(y_true, y_pred): margin = 1 return K.mean(y_true * K.square(y_pred) + (1 - y_true) * K.square(K.maximum(margin - y_pred, 0))) model.compile(loss=contrastive_loss, optimizer=rms)
让我们研究模型:
img_1 = x_train[:, 0] img_2 = x_train[:, 1] model.fit([img_1, img_2], y_train, validation_split=.25, batch_size=128, verbose=2, nb_epoch=epochs)
您会看到随着时代的流逝,损失如何减少:
Train on 11250 samples, validate on 3750 samples Epoch 1/13 - 60s - loss: 0.2179 - val_loss: 0.2156 Epoch 2/13 - 53s - loss: 0.1520 - val_loss: 0.2102 Epoch 3/13 - 53s - loss: 0.1190 - val_loss: 0.1545 Epoch 4/13 - 55s - loss: 0.0959 - val_loss: 0.1705 Epoch 5/13 - 52s - loss: 0.0801 - val_loss: 0.1181 Epoch 6/13 - 52s - loss: 0.0684 - val_loss: 0.0821 Epoch 7/13 - 52s - loss: 0.0591 - val_loss: 0.0762 Epoch 8/13 - 52s - loss: 0.0526 - val_loss: 0.0655 Epoch 9/13 - 52s - loss: 0.0475 - val_loss: 0.0662 Epoch 10/13 - 52s - loss: 0.0444 - val_loss: 0.0469 Epoch 11/13 - 52s - loss: 0.0408 - val_loss: 0.0478 Epoch 12/13 - 52s - loss: 0.0381 - val_loss: 0.0498 Epoch 13/13 - 54s - loss: 0.0356 - val_loss: 0.0363
现在让我们在测试数据上测试模型:
pred = model.predict([x_test[:, 0], x_test[:, 1]])
定义一个函数来计算精度:
def compute_accuracy(predictions, labels): return labels[predictions.ravel()
我们计算精度:
compute_accuracy(pred, y_test) 0.9779092702169625
结论
在本指南中,我们学习了如何基于暹罗网络创建人脸识别模型。 这种网络的架构由两个具有相同权重和结构的相同神经网络组成,其工作结果被转移到一个能量函数中-这确定了输入数据的身份。 有关使用
Python进行元学习的更多信息
,请参阅
动手使用
Python进行 元学习。我的评论
当前,使用图像时需要暹罗网络知识。 有许多方法可以在小样本中训练网络,生成新数据,增强方法。 这种方法可以相对“便宜”地获得良好的结果,这是神经网络“ Hello world”上的暹罗网络的一个更经典的示例-数据集MNIST
keras.io/examples/mnist_siamese