哈Ha
今天,我们将继续研究Raspberry Pi的网络功能,或者更确切地说是它们在Python中的实现。 在
第一部分中,我们研究了在Raspberry Pi上运行的最简单的Web服务器的基本功能。 现在,我们将更进一步,并考虑使服务器交互的几种方法。

本文专为初学者设计。
在开始一些注意事项之前。
首先,我本人怀疑是否值得进行续集,并期望
会有更多的批评和低评分,但是正如调查在第一部分中所显示的那样,有85%的读者发现那里提供的信息有用。 我了解到有些关于“假人”的专业文章很烦人,但是它们都开始一次,因此您必须等待。
其次,我将写关于编程的文章,而不是关于管理的文章。 因此,此处将不考虑配置Raspbian,配置,VPN,安全性和其他问题。 尽管这也很重要,但是不能容忍巨大的力量。 它将仅涉及Python以及如何在其上构建服务器。
那些不感兴趣的人可以立即在浏览器中单击后退按钮,而不会浪费宝贵的时间;)
我们将开始。
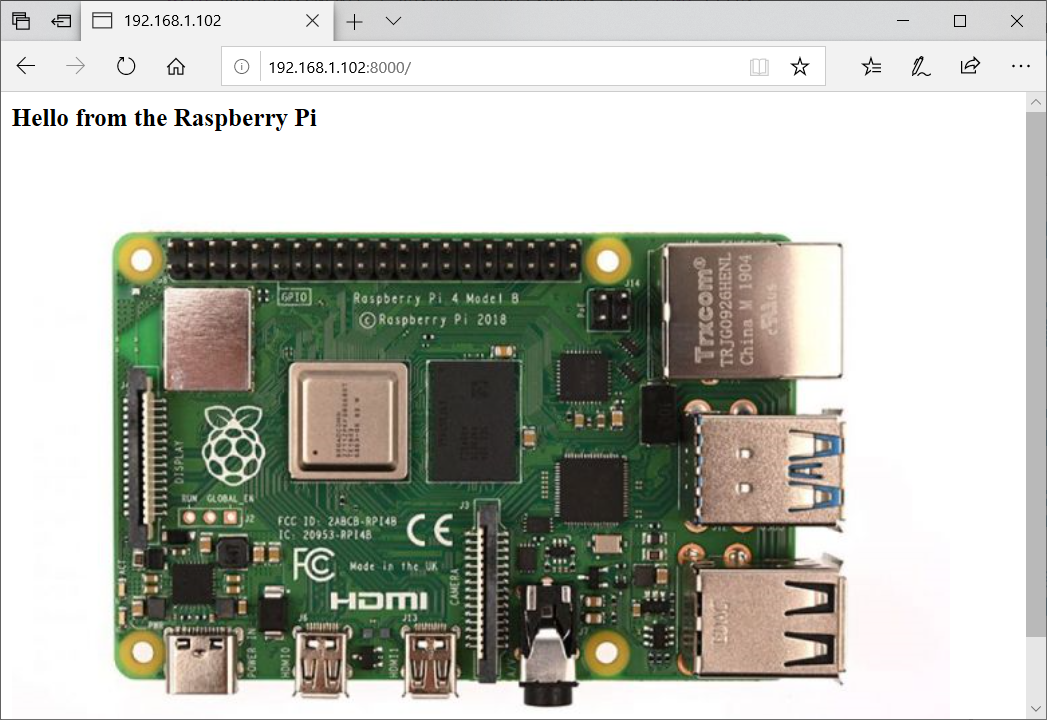
让我提醒您,在
上一部分中,我们最终在Raspberry Pi上启动了一个显示静态页面的简单Web服务器:
现在,我们将更进一步,使我们的服务器具有交互性,将LED控件添加到网页中。 当然,除了LED之外,可以有其他可由GPIO控制的其他设备,但是使用LED则最容易进行实验。
准备工作
我不会描述如何将LED连接到Raspberry Pi,任何人都可以在5分钟内在Google中找到它。 我们将立即编写几个使用GPIO的函数,然后将其插入到服务器中。
try: import RPi.GPIO as GPIO except ModuleNotFoundError: pass led_pin = 21 def raspberrypi_init(): try: GPIO.setmode(GPIO.BCM) GPIO.setup(led_pin, GPIO.OUT) except: pass def rasperrypi_pinout(pin: int, value: bool): print("LED ON" if value else "LED OFF") try: GPIO.output(pin, value) except: pass def rasperrypi_cleanup(): try: GPIO.cleanup() except: pass
如您所见,每个GPIO调用函数都被“包装”在try-catch模块中。 为什么要这样做? 这使您可以在包括Windows在内的任何PC上调试服务器,这非常方便。 现在我们可以将这些功能插入Web服务器代码中。
我们的任务是在网页上添加按钮,使我们可以从浏览器控制LED。 将考虑3种实施方式。
方法1:错误
此方法不能称为精美方法,但它简短易懂。
用HTML页面创建一行。
html = '''<html> <style>html{font-family: Helvetica; display:inline-block; margin: 0px auto; text-align: center;} .button_led {display: inline-block; background-color: #e7bd3b; border: none; border-radius: 4px; color: white; padding: 16px 40px; text-decoration: none; font-size: 30px; margin: 2px; cursor: pointer;} </style> <body> <h2>Hello from the Raspberry Pi!</h2> <p><a href="/led/on"><button class="button button_led">Led ON</button></a></p> <p><a href="/led/off"><button class="button button_led">Led OFF</button></a></p> </body> </html>'''
这里有3点需要注意:
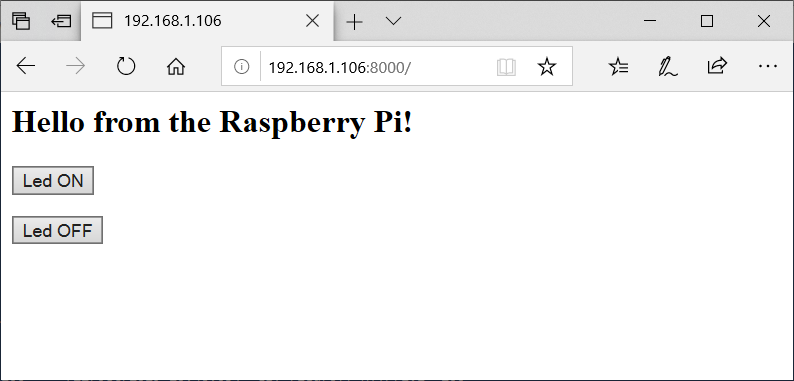
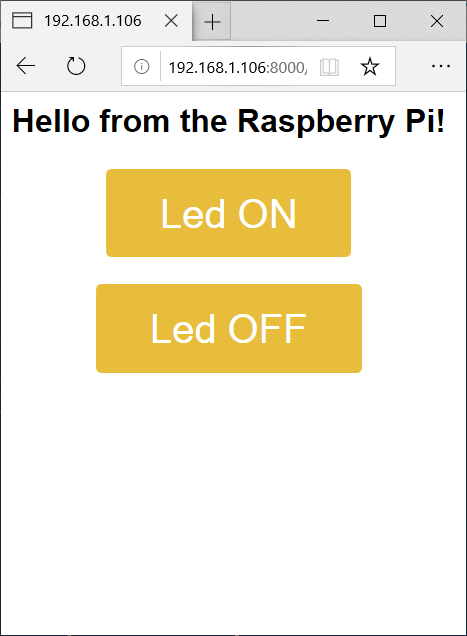
- 我们使用CSS来指定按钮的样式。 您无法做到这一点,只接受了4行HTML代码,但是我们的页面看起来像是“ 90年代的问候”:
- 对于每个按钮,我们创建一个本地链接,例如/ led / on和/ led / off
- 混合资源和代码是一种不好的编程风格,理想情况下,最好将HTML与Python代码分开。 但是我的目标是显示最少的工作代码,其中最少的多余代码,因此为了简单起见,省略了一些内容。 此外,当可以简单地从文章中复制代码而不会对其他文件大惊小怪时,这样做很方便。
我们已经在上一部分中检查了服务器,它仍然需要添加对“ / led / on”和“ / led / off”行的处理。 更新了整个代码:
from http.server import BaseHTTPRequestHandler, HTTPServer class ServerHandler(BaseHTTPRequestHandler): def do_GET(self): print("GET request, Path:", self.path) if self.path == "/" or self.path.endswith("/led/on") or self.path.endswith("/led/off"): if self.path.endswith("/led/on"): rasperrypi_pinout(led_pin, True) if self.path.endswith("/led/off"): rasperrypi_pinout(led_pin, False) self.send_response(200) self.send_header('Content-type', 'text/html') self.end_headers() self.wfile.write(html.encode('utf-8')) else: self.send_error(404, "Page Not Found {}".format(self.path)) def server_thread(port): server_address = ('', port) httpd = HTTPServer(server_address, ServerHandler) try: httpd.serve_forever() except KeyboardInterrupt: pass httpd.server_close() if __name__ == '__main__': port = 8000 print("Starting server at port %d" % port) raspberrypi_init() server_thread(port) rasperrypi_cleanup()
我们启动它,如果一切都正确完成,那么我们可以通过Web服务器控制LED:
您不仅可以在Raspberry Pi上测试服务器,还可以在Windows或OSX上测试服务器,单击相应的按钮后,控制台中将显示LED亮,LED灭消息:

现在我们找出为什么这种方法不好,为什么它是“错误的”。 这个例子很有效,并且经常复制到不同的教程中。 但是有两个问题-首先,当我们只想点亮LED时重新加载整个页面是错误的。 但这仍然是问题的一半。 第二个也是更严重的问题是,当我们按下打开LED的按钮时,页面地址变为
http://192.168.1.106:8000/led/on 。 浏览器通常会记住上一次打开的页面,而下次您打开浏览器时,即使我们不想这么做,打开LED的命令也会再次起作用。 因此,我们将继续进行下一个更正确的方法。
方法2:正确
为了正确执行所有操作,我们在单独的请求中设置了LED的打开和关闭功能,我们将使用Javascript异步调用它们。 该页面的HTML代码现在如下所示:
html = '''<html> <style>html{font-family: Helvetica; display:inline-block; margin: 0px auto; text-align: center;} .button_led {display: inline-block; background-color: #e7bd3b; border: none; border-radius: 4px; color: white; padding: 16px 40px; text-decoration: none; font-size: 30px; margin: 2px; cursor: pointer;} </style> <script type="text/javascript" charset="utf-8"> function httpGetAsync(method, callback) { var xmlHttp = new XMLHttpRequest(); xmlHttp.onreadystatechange = function() { if (xmlHttp.readyState == 4 && xmlHttp.status == 200) callback(xmlHttp.responseText); } xmlHttp.open("GET", window.location.href + method, true); xmlHttp.send(null); } function ledOn() { console.log("Led ON..."); httpGetAsync("led/on", function(){ console.log("Done"); }); } function ledOff() { console.log("Led OFF..."); httpGetAsync("led/off", function(){ console.log("Done"); }); } </script> <body> <h2>Hello from the Raspberry Pi!</h2> <p><button class="button button_led" onclick="ledOn();">Led ON</button></p> <p><button class="button button_led" onclick="ledOff();">Led OFF</button></p> </body> </html>'''
如您所见,我们放弃了href,而调用了ledOn和ledOff函数,后者又异步调用了相应的服务器方法(需要异步方法,以便在服务器的响应到达之前页面不会阻塞)。
现在剩下将获取请求的处理添加到服务器了:
def do_GET(self): print("GET request, path:", self.path) if self.path == "/": self.send_response(200) self.send_header('Content-type', 'text/html') self.end_headers() self.wfile.write(html.encode('utf-8')) elif self.path == "/led/on": self.send_response(200) self.send_header('Content-type', 'text/plain') self.end_headers() rasperrypi_pinout(led_pin, True) self.wfile.write(b"OK") elif self.path == "/led/off": self.send_response(200) self.send_header('Content-type', 'text/plain') self.end_headers() rasperrypi_pinout(led_pin, False) self.wfile.write(b"OK") else: self.send_error(404, "Page Not Found {}".format(self.path))
现在,如您所见,当您尝试点亮LED时,页面不再重新加载,每种方法仅执行应做的事情。
方法3:更正确
一切似乎都已经开始了。 但是,当然,上述代码可以(并且应该)得到改进。 事实是,我们使用GET请求来控制LED。 这样可以节省代码空间,但从方法上讲,这并不完全正确-GET请求旨在从服务器
读取数据 ,它们可以由浏览器缓存,并且通常不应用于
修改数据。 正确的方法是使用POST(对于那些对细节感兴趣的人,请
点击此处了解更多详细信息)。
我们将把HTML中的调用从获取更改为发布,但同时,由于我们的代码是异步的,因此我们将显示等待服务器响应并显示工作结果的状态。 对于本地网络,这并不明显,但是对于慢速连接,这是非常方便的。 为了使其更有趣,我们将使用JSON传递参数。
最终版本如下所示:
html = '''<html> <style>html{font-family: Helvetica; display:inline-block; margin: 0px auto; text-align: center;} .button_led {display: inline-block; background-color: #e7bd3b; border: none; border-radius: 4px; color: white; padding: 16px 40px; text-decoration: none; font-size: 30px; margin: 2px; cursor: pointer;} </style> <script type="text/javascript" charset="utf-8"> function httpPostAsync(method, params, callback) { var xmlHttp = new XMLHttpRequest(); xmlHttp.onreadystatechange = function() { if (xmlHttp.readyState == 4 && xmlHttp.status == 200) callback(xmlHttp.responseText); else callback(`Error ${xmlHttp.status}`) } xmlHttp.open("POST", window.location.href + method, true); xmlHttp.setRequestHeader("Content-Type", "application/json"); xmlHttp.send(params); } function ledOn() { document.getElementById("textstatus").textContent = "Making LED on..."; httpPostAsync("led", JSON.stringify({ "on": true }), function(resp) { document.getElementById("textstatus").textContent = `Led ON: ${resp}`; }); } function ledOff() { document.getElementById("textstatus").textContent = "Making LED off..."; httpPostAsync("led", JSON.stringify({ "on": false }), function(resp) { document.getElementById("textstatus").textContent = `Led OFF: ${resp}`; }); } </script> <body> <h2>Hello from the Raspberry Pi!</h2> <p><button class="button button_led" onclick="ledOn();">Led ON</button></p> <p><button class="button button_led" onclick="ledOff();">Led OFF</button></p> <span id="textstatus">Status: Ready</span> </body> </html>'''
将对GET和POST请求的支持添加到服务器:
import json class ServerHandler(BaseHTTPRequestHandler): def do_GET(self): print("GET request, path:", self.path) if self.path == "/": self.send_response(200) self.send_header('Content-type', 'text/html') self.end_headers() self.wfile.write(html.encode('utf-8')) else: self.send_error(404, "Page Not Found {}".format(self.path)) def do_POST(self): content_length = int(self.headers['Content-Length']) body = self.rfile.read(content_length) try: print("POST request, path:", self.path, "body:", body.decode('utf-8')) if self.path == "/led": data_dict = json.loads(body.decode('utf-8')) if 'on' in data_dict: rasperrypi_pinout(led_pin, data_dict['on']) self.send_response(200) self.send_header('Content-type', 'text/plain') self.end_headers() self.wfile.write(b"OK") else: self.send_response(400, 'Bad Request: Method does not exist') self.send_header('Content-Type', 'application/json') self.end_headers() except Exception as err: print("do_POST exception: %s" % str(err))
如您所见,我们现在使用一个led函数,使用json将参数“ on”传递到该函数中,该参数接受True或False(在HTML中调用时,分别传输格式为““ on”:true}”的json字符串)。 值得一提的是try-catch-这可以阻止服务器崩溃,例如,如果有人向服务器发送带有无效json的字符串。
如果一切都正确完成,我们将获得带有反馈的服务器,该服务器应如下所示:

在本例中,反馈信息为“ OK”,使您可以从服务器上看到确认代码已被实际处理。
此服务器可以改进吗? 例如,您可以将日志记录功能替换为打印功能,这是更正确的选择,它不仅可以在屏幕上显示服务器日志,还可以将服务器日志自动旋转写入文件中。 那些希望的人可以自己做。
结论
如果一切操作正确,我们将获得一个微型服务器,您可以通过它从任何网络设备通过浏览器控制LED或任何其他设备。
重要提示:安全注意事项我再次指出这里没有保护或身份验证,因此,如果您计划管理或多或少的负责任负载,则不应在互联网上“发布”此类页面。 尽管此类服务器遭到攻击的情况对我来说还是未知的,但仍不值得任何希望有机会远程打开车库门或打开千瓦加热器的人使用。 如果您想通过此类页面进行远程控制,则值得设置VPN或类似方法。
最后,我重复一遍,该材料是为初学者设计的,我希望它或多或少有用。 显然,并非所有Khabr上的人都对“假人”文章的可用性感到满意,因此下一部分是否取决于最终成绩。 如果有的话,它将考虑Flask和WSGI框架以及基本的身份验证方法。
所有成功的实验。