1.我们做一个电报机器人
首先,您需要编写一个机器人,它将对所需的IP进行ping操作,并在所需的服务从网络上消失后发送一条消息,然后出现
我了解到,对于habr资源,本文非常简单,此外,我没有尝试绘制每一行代码,因为所有代码都足够简单,可供初学者理解。 我决定分享在docker中制作您的机器人有多么容易,这将做有益的工作。
1.1如何存储配置
我决定将配置存储为Yaml文件。
botid: userid: id_, hosts: - "8.8.8.8:Google DNS Server" - "yandex.ru:Yandex domain name"
按顺序,botid是@botfather在创建新的bot时发出的令牌。
userid是将在聊天中从漫游器接收消息的电报用户的ID。 可以使用@userinfobot获得
主机是机器人将ping的那些服务。 您可以同时指定IP地址和域名。 地址的注释通过冒号表示,该注释将替换为消息而不是地址。
1.2脚本本身
首先,为主机创建一个类。
class address: def __init__ (self, address, comment): self.address = address self.comment = comment self.status = True
地址是IP或域名。
comment-来自yaml文件的评论。
状态-是否在网络上托管。 默认为在线。
剧本
from telegram import Bot from pythonping import ping import time import yaml from libs.host import address def init(): """ , userid set_hosts """ global bot, userid with open('/usr/src/app/config.yaml') as f: try: docs = yaml.load_all(f, Loader=yaml.FullLoader) for doc in docs: for k, v in doc.items(): if k == "botid": bot = Bot(v) elif k == "userid": userid = v elif k == "hosts": set_hosts(v) except yaml.YAMLError as exc: print(exc) def set_hosts(hosts): """ """ global hosts_list hosts_list = [] for item in hosts: ac = item.split(":") hosts_list.append(address(ac[0], ac[1])) def send_message(message): """ """ bot.send_message(userid, message, parse_mode='HTML', disable_web_page_preview=True) def ping_host(address): """ . . , . , . """ if ping_url(address.address): if not address.status: address.status = True send_message(address.comment + " is up again") else: if (address.status): address.status = False send_message(address.comment + " is down") def ping_url(url): """ . Response list - ping. . , . """ i = 0; try: response_list = ping(url) for response in response_list: if (not response.success): i += 1 if (i == 4): return False else: return True except Exception as e: send_message(str(e)) def main(): """ . , . """ init() while True: for host in hosts_list: ping_host(host) time.sleep(30) if __name__ == '__main__': main()
将Docker映像放在一起
我在本文中编写了如何安装docker和docker-compose。
需要创建一个dockerfile。 在代码文件夹旁边,放置机器人的源代码。
FROM python:buster RUN pip3 install python-telegram-bot pythonping pyyaml WORKDIR /usr/src/app COPY ./code/. . ENTRYPOINT ["python"] CMD ["main.py"]
我们从官方python仓库连接docker镜像。 安装库。 将当前文件夹设置为/ usr / src / app。 将代码复制到此文件夹。 启动时调用的实用程序将是python。 CMD传递参数运行-main.py。
接下来,您需要收集图像并将其放入存储库中
docker build -t alsoeast/pingbot:1.0 . docker push alsoeast/pingbot:1.0
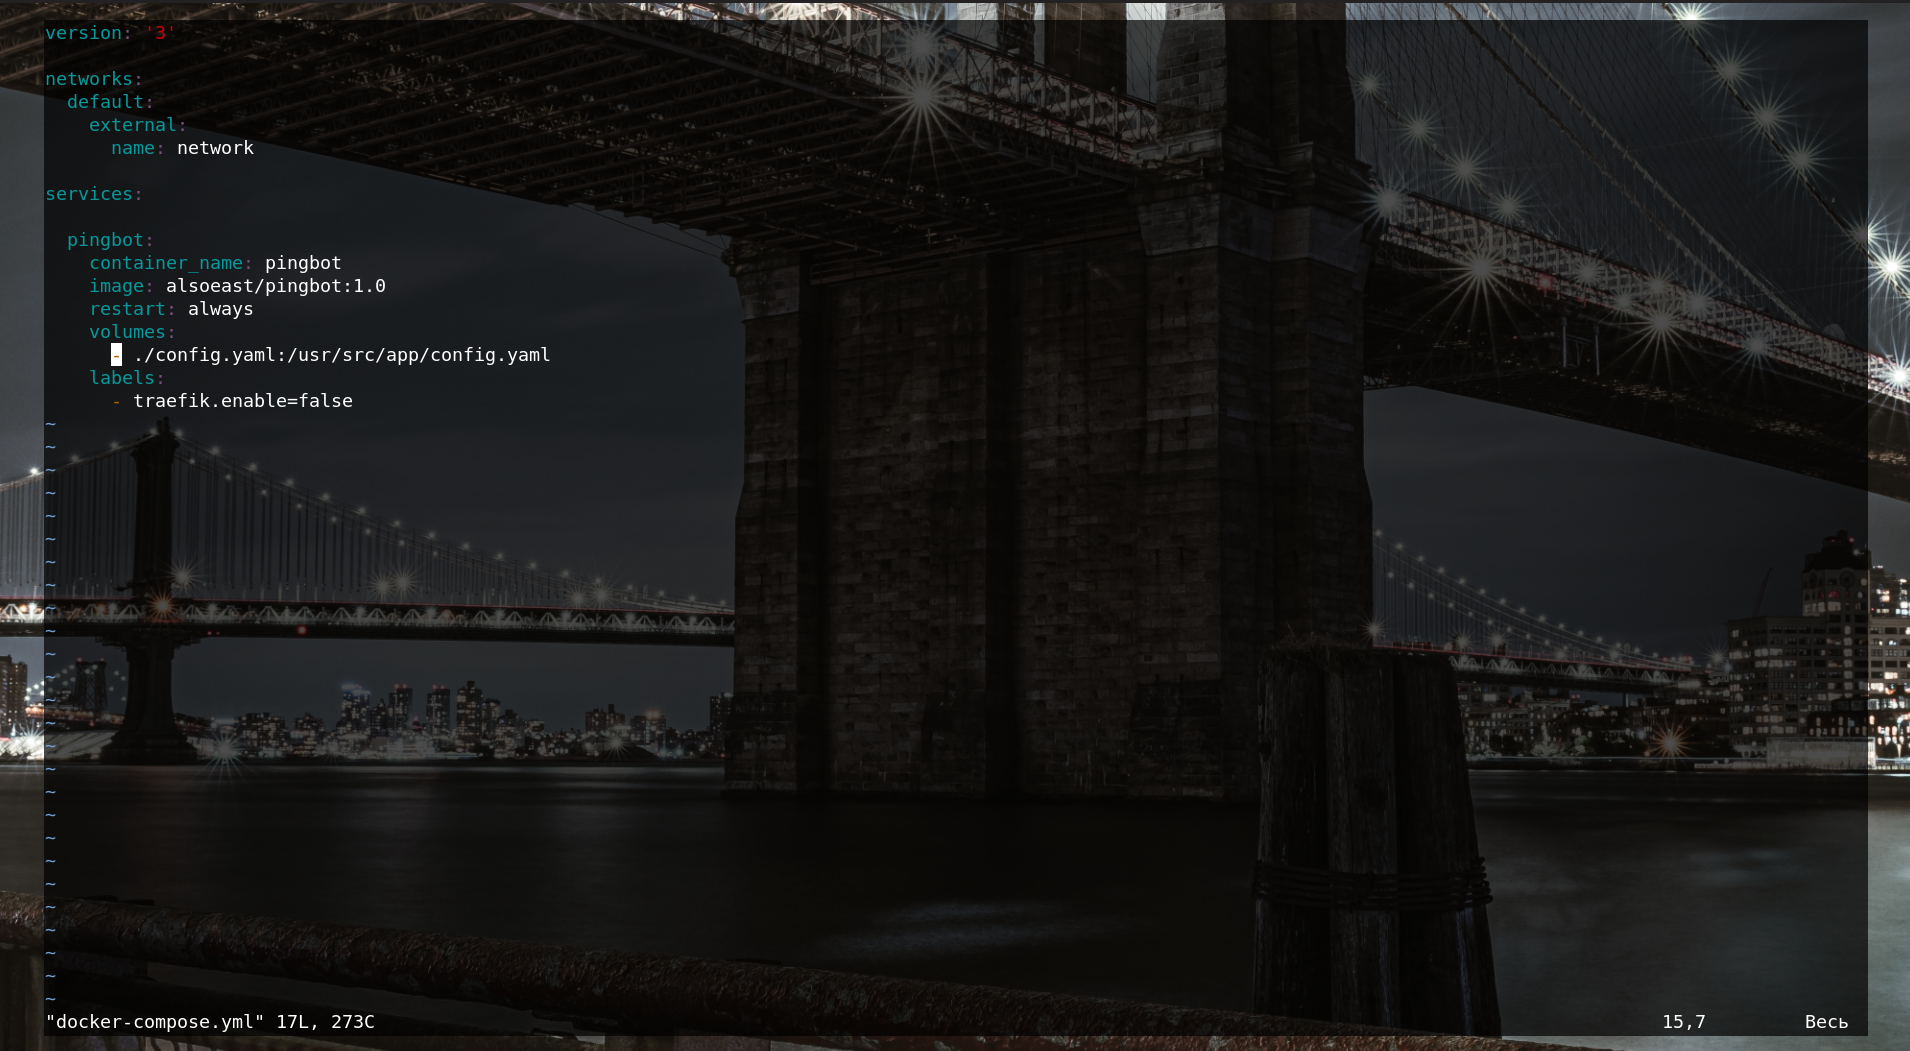
要运行docker映像,我使用docker-compose。
version: '3' networks: default: external: name: network services: pingbot: container_name: pingbot image: alsoeast/pingbot:1.0 restart: always volumes: - ./config.yaml:/usr/src/app/config.yaml
该映像是从存储库中获取的,已挂载config.yaml文件,以便脚本可以接收参数。 它仍然只能运行
docker-compose up -d
如果有人需要它,则可以在docker hub上使用该机器人。
UPD:将 1.1
的新版本或最新映像上传到docker hub。 在配置文件中,botid参数更改为botkey,添加了可选的interval参数