基维 构建适用于Android的程序包


在昨天关于移动开发Python文章 ,谈到了KivyMD库(一种用于Kivy跨平台框架的Material Design样式的小部件集合),我在评论中被要求谈论关于为Android平台构建软件包的过程。 不幸的是,对于许多人来说,这个过程曾经是,而且仍然是一系列神奇的萨满教,而不是初学者的事。 好吧,让我们弄清楚,一切真的很复杂,我真的是魔术师和巫师吗?


当然可以! 因此,您使用Python和Kivy编写了代码。 在Android设备上运行它需要什么? 转到KivyMD存储库,您将看到这些说明很早就阐明了允许您收集APK软件包的步骤:

  1. 下载XUbuntu 18.04

在计算机上安装Virtual Box。
根据下载的XUbuntu映像创建新的虚拟机
启动XUbuntu虚拟机,打开终端并运行以下命令:

wget https://github.com/HeaTTheatR/KivyMD-data/raw/master/install-kivy-buildozer-dependencies.sh 

 chmod +x install-kivy-buildozer-dependencies.sh 

 ./install-kivy-buildozer-dependencies.sh 

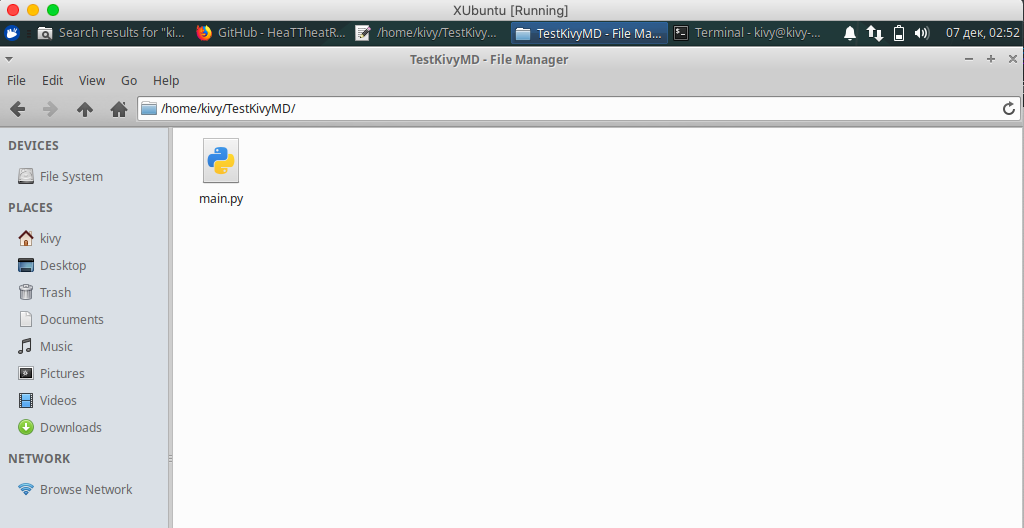
仅此而已! 您现在有了虚拟机,可以为Kivy应用程序构建APK包! 接下来是什么? 让我们实际构建一个测试应用程序。 使用空的main.py文件在虚拟机的主目录中创建TestKivyMD目录:


接下来,打开main.py文件,并为将使用KivyMD库的测试应用程序编写代码:

 from kivy.lang import Builder from kivymd.app import MDApp KV = """ Screen: MDToolbar: title: "My firt app" elevation: 10 md_bg_color: app.theme_cls.primary_color left_action_items: [["menu", lambda x: x]] pos_hint: {"top": 1} MDRaisedButton: text: "Hello World" pos_hint: {"center_x": .5, "center_y": .5} """ class HelloWorld(MDApp): def build(self): return Builder.load_string(KV) HelloWorld().run() 

保存,使用main.py文件打开目录中的终端,并安装KivyMD库:

 sudo pip3 install kivymd 
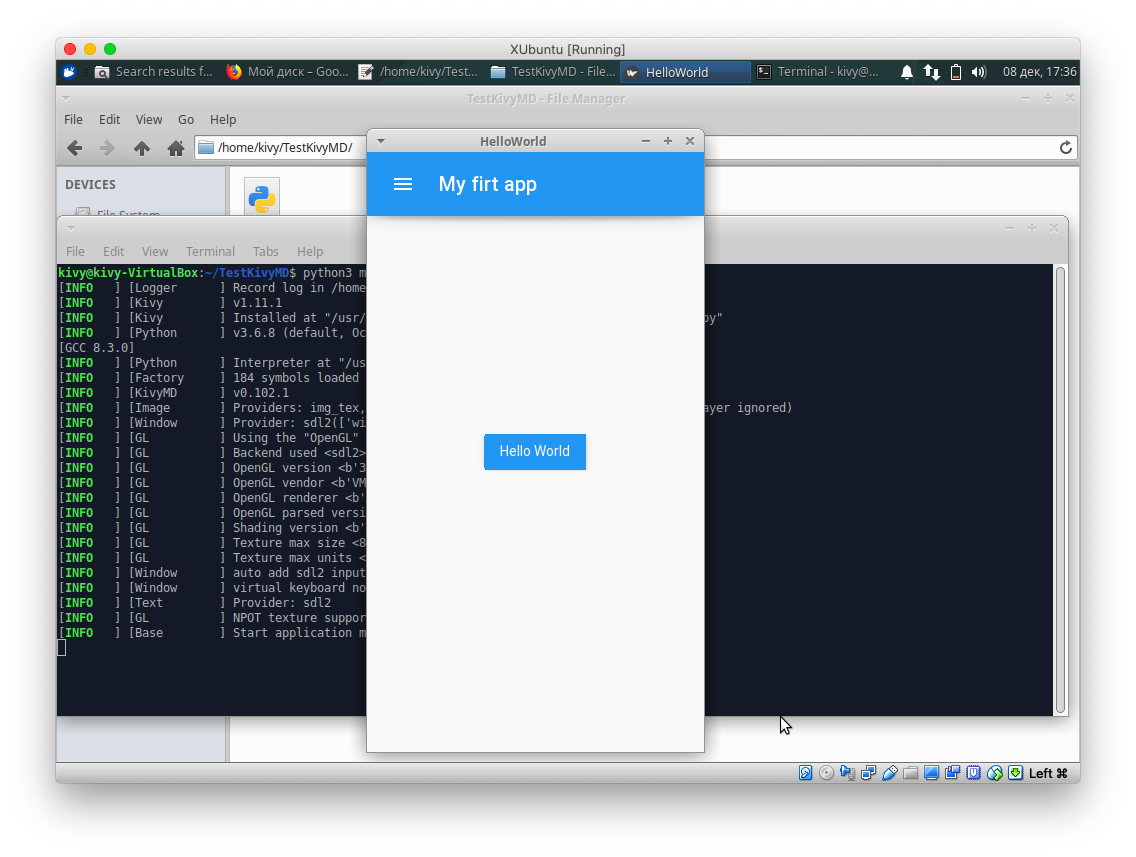
安装后,您可以测试我们的代码:

 python3 main.py 

该脚本的结果将是一个带有工具栏和一个按钮“ Hello World”的屏幕:


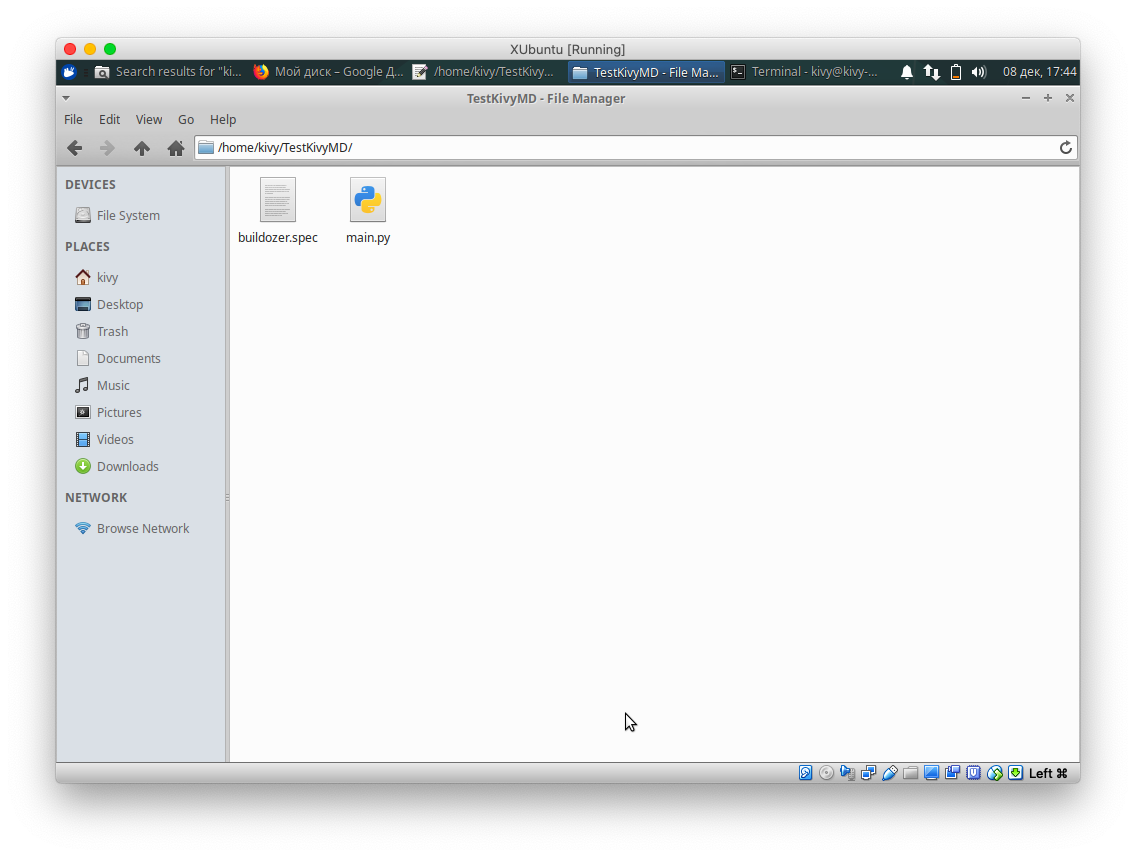
接下来,我们需要创建buildozer.spec规范文件,该文件应与main.py文件位于同一目录中:


如果未关闭终端(如果终端已关闭,请在TestKivyMD目录中将其打开),输入命令:

 buildozer init 

此命令将创建一个默认的规范文件。 打开并编辑:

 [app] # (str) Title of your application title = KivyMDTest # (str) Package name package.name = kivymd_test # (str) Package domain (needed for android/ios packaging) package.domain = com.heattheatr # (str) Source code where the main.py live source.dir = . # (list) Source files to include (let empty to include all the files) source.include_exts = py,png,jpg,jpeg,ttf # (list) Application version version = 0.0.1 # (list) Application requirements # comma separated eg requirements = sqlite3,kivy requirements = python3,kivy==1.11.1,kivymd # (str) Supported orientation (one of landscape, sensorLandscape, portrait or all) orientation = portrait # (bool) Indicate if the application should be fullscreen or not fullscreen = 1 # (list) Permissions android.permissions = INTERNET,WRITE_EXTERNAL_STORAGE # (int) Target Android API, should be as high as possible. android.api = 28 # (int) Minimum API your APK will support. android.minapi = 21 # (str) Android NDK version to use android.ndk = 17c # (bool) If True, then skip trying to update the Android sdk # This can be useful to avoid excess Internet downloads or save time # when an update is due and you just want to test/build your package android.skip_update = False # (bool) If True, then automatically accept SDK license # agreements. This is intended for automation only. If set to False, # the default, you will be shown the license when first running # buildozer. android.accept_sdk_license = True # (str) The Android arch to build for, choices: armeabi-v7a, arm64-v8a, x86, x86_64 android.arch = armeabi-v7a [buildozer] # (int) Log level (0 = error only, 1 = info, 2 = debug (with command output)) log_level = 2 # (int) Display warning if buildozer is run as root (0 = False, 1 = True) warn_on_root = 0 # (str) Path to build artifact storage, absolute or relative to spec file build_dir = ./.buildozer # (str) Path to build output (ie .apk, .ipa) storage bin_dir = ./bin 

此处的所有内容都很清楚,因此不需要其他注释。 仔细阅读默认规范,可以在其中指定图标的路径,在加载应用程序时闪烁以及更多其他内容。 我只剩下了构建测试包所需的内容。 而且,实际上,我们使用终端中的命令开始构建过程:

 buildozer android debug 

您可以放心地去厨房煮咖啡,因为第一次加载和编译库的过程将花费很长时间。 所有后续组装需要10到20秒。

咖啡喝醉了,该到终端了:


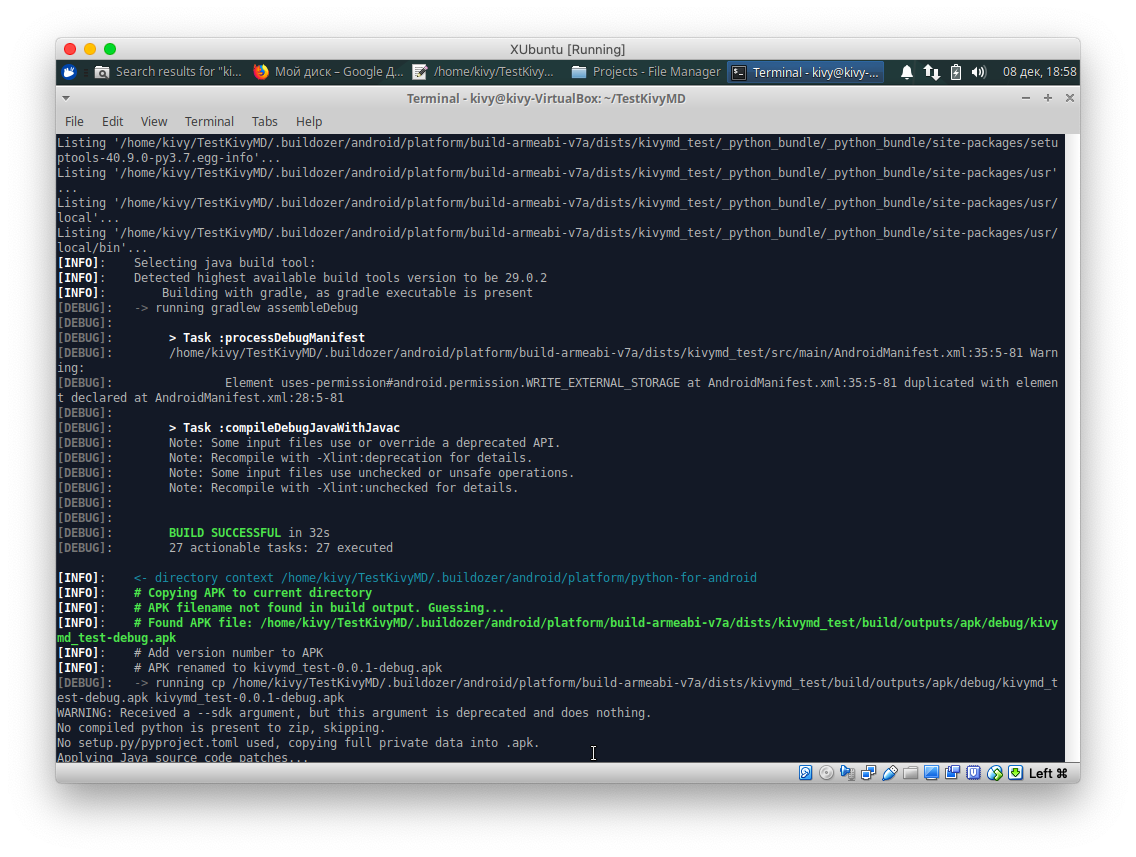
瞧! 我们的应用程序已构建! 现在是时候将其放到智能手机上并运行:


一切正常! 事实证明,并非所有事情都像看起来那样复杂。

他们还问我:


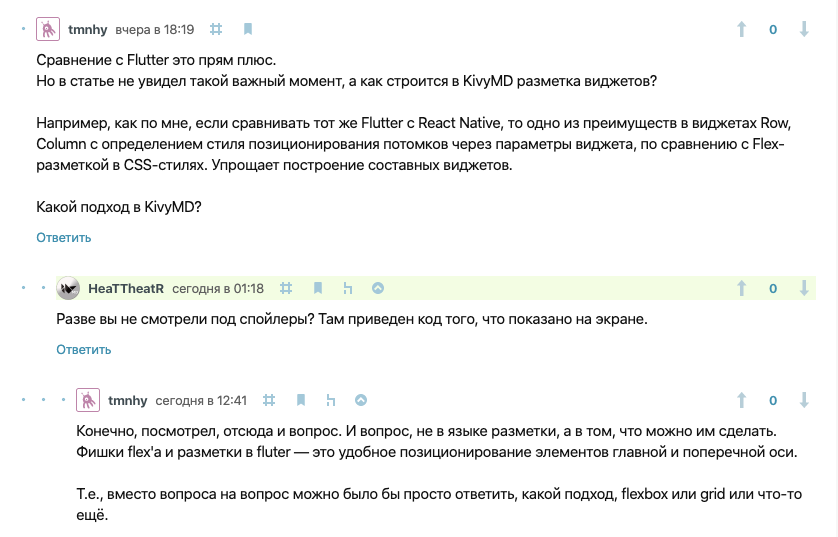
Flutter和React Native都不比Kivy Language标记语言有任何优势,后者允许您创建和定位实时布局和小部件。 对我而言,在Flutter中构建UI的方式确实是一种变态。 只有生病的人才能想到这一点。 为了避免毫无根据,让我们看一下相同的简单应用程序的Flutter代码和Kivy代码...看起来像这样:


下面,我简要介绍一下关于Flutter的文章中的代码:基础知识

 import 'package:flutter/widgets.dart'; main() => runApp( Directionality( textDirection: TextDirection.ltr, child: Container( color: Color(0xFFFFFFFF), child: App(), ), ), ); class App extends StatelessWidget { @override Widget build(BuildContext context) { return Center( child: GestureDetector( //     onTap: () { //    GestureDetector //    ,      print('You pressed me'); }, child: Container( //     decoration: BoxDecoration( //   shape: BoxShape.circle, //     color: Color(0xFF17A2B8), //      ), width: 80.0, height: 80.0, ), ), ); } } class Counter extends StatefulWidget { //      ,     , //   createState() @override State<Counter> createState() => _CounterState(); //        State, //   State<> } class _CounterState extends State<Counter> { //    -    , //      . //   ,     int counter = 0; //     ,       //   ,      Stateless . @override Widget build(BuildContext context) { //          , //     —  : return Center( child: GestureDetector( onTap: () { //  ,   ,    //  counter. setState(() { // setState()   ,    //      ,    ++counter; }); }, child: Container( decoration: BoxDecoration( shape: BoxShape.circle, color: Color(0xFF17A2B8), ), width: 80.0, child: Center( child: Text( //    counter '$counter', //      style: TextStyle(fontSize: 30.0), ), ), ), ), ); } } 

和这里完全一样,但是使用Kivy和KivyMD:

 from kivy.lang import Builder from kivymd.app import MDApp KV = """ #:import get_color_from_hex kivy.utils.get_color_from_hex Screen: MDCard: MDLabel: value: 0 text: str(self.value) halign: "center" on_touch_down: self.value += 1 canvas.before: Color: rgba: get_color_from_hex("#4eaabe") Ellipse: pos: self.center[0] - dp(25), self.center[1] - dp(25) size: dp(50), dp(50) """ class HelloWorld(MDApp): def build(self): return Builder.load_string(KV) HelloWorld().run() 

我认为结论很明显,不需要我的评论...

希望对您有用。 我的主题为“您是否设法为Android构建应用程序”。

Source: https://habr.com/ru/post/zh-CN479236/


All Articles